

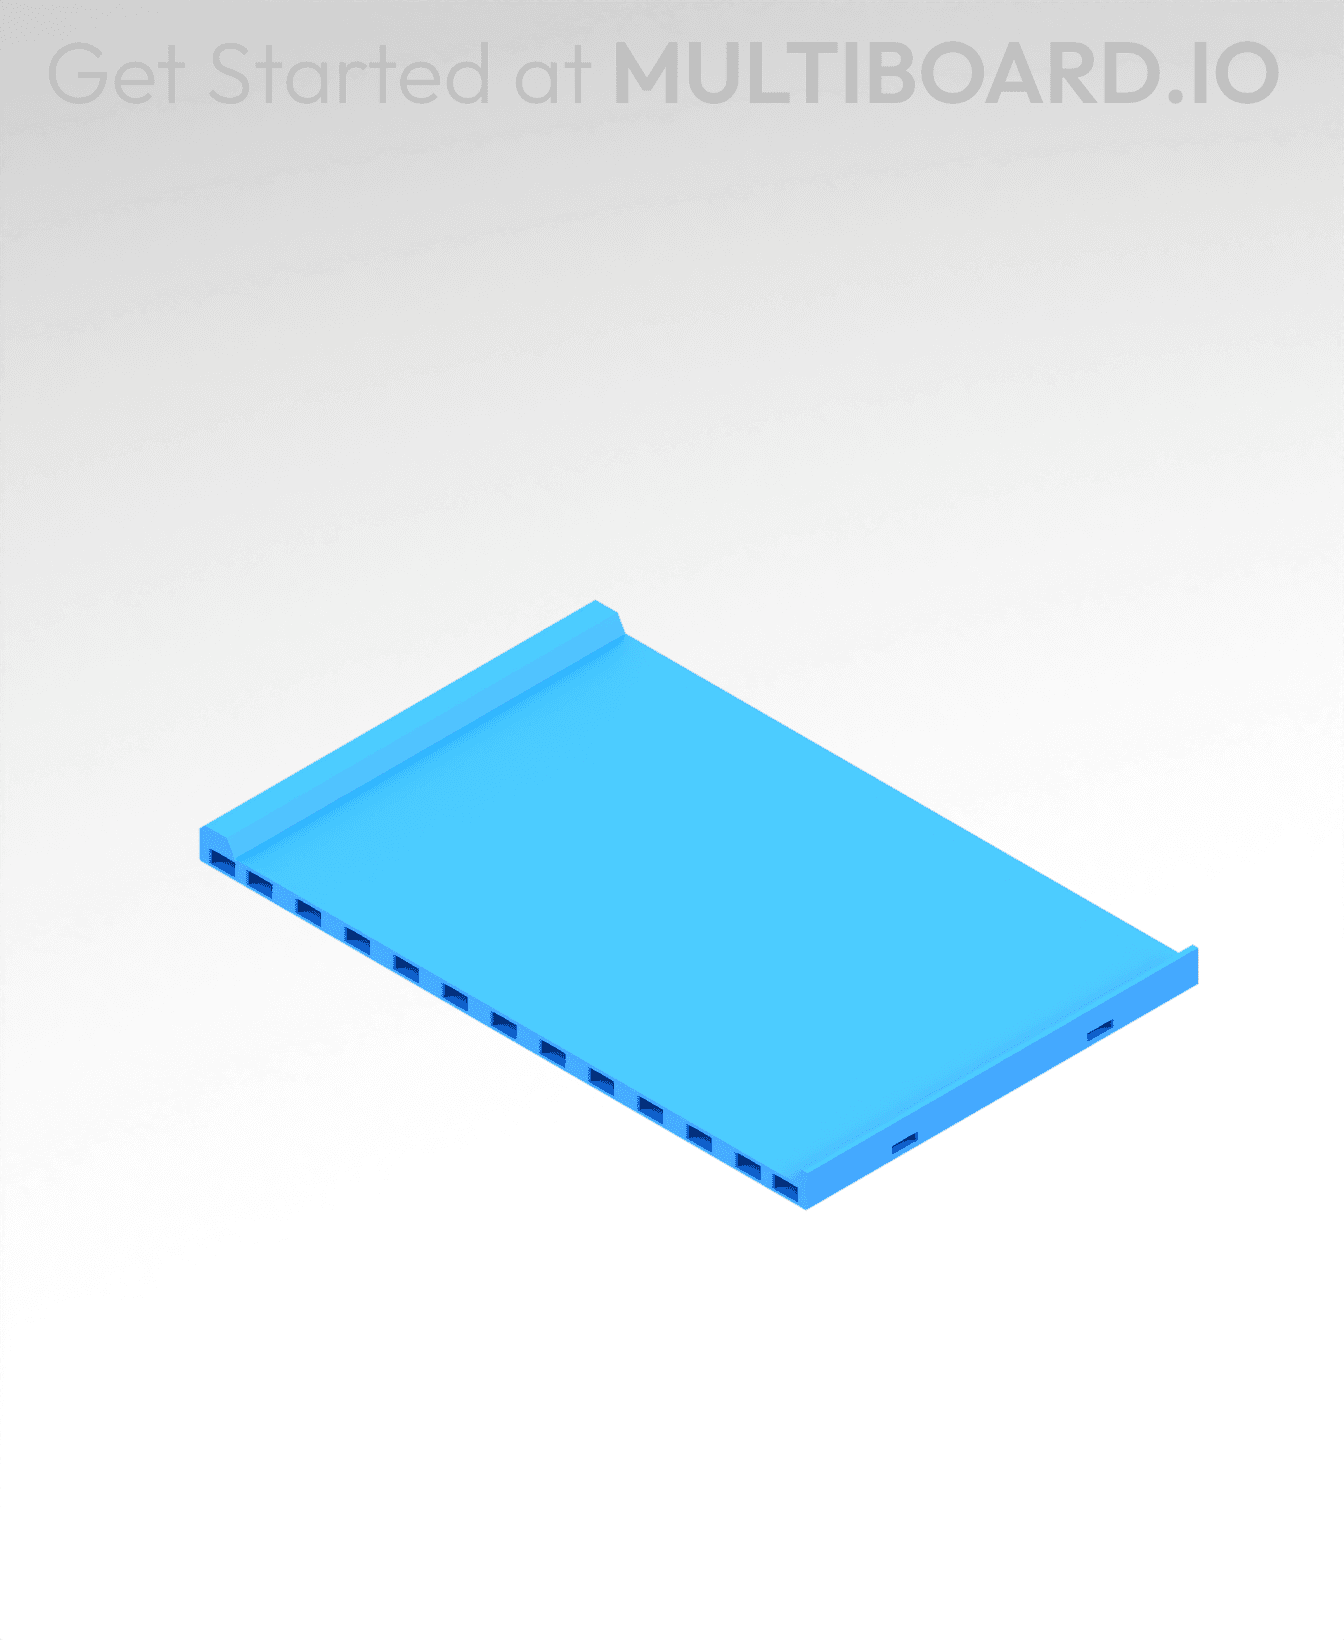
8x8 MU - Center Grid Interfitted - MultiBoard Octagon Plate - 4x Ironing Stack
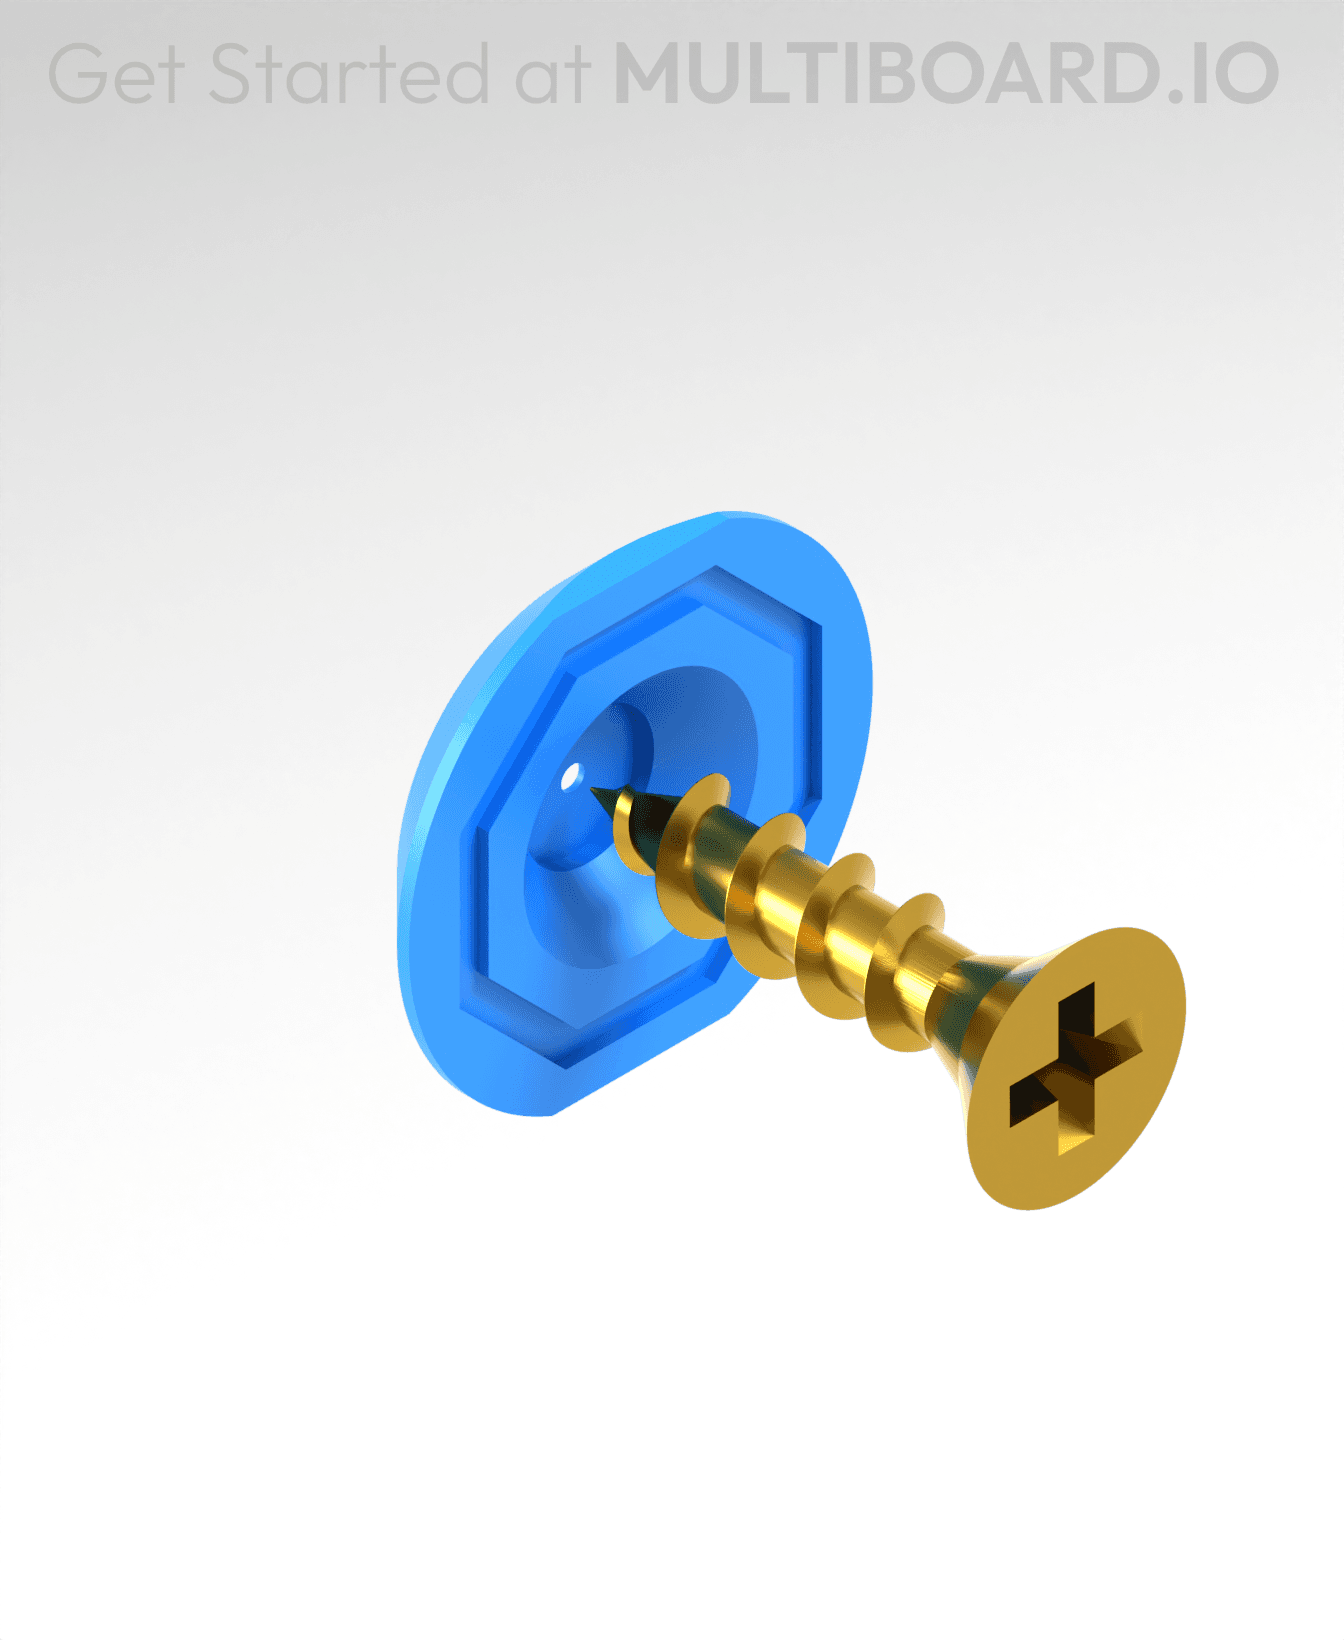
The Multiboard Tiles form the base of Multiboard, allowing you to screw in Threads, insert Snaps and use the Pegboard holes.
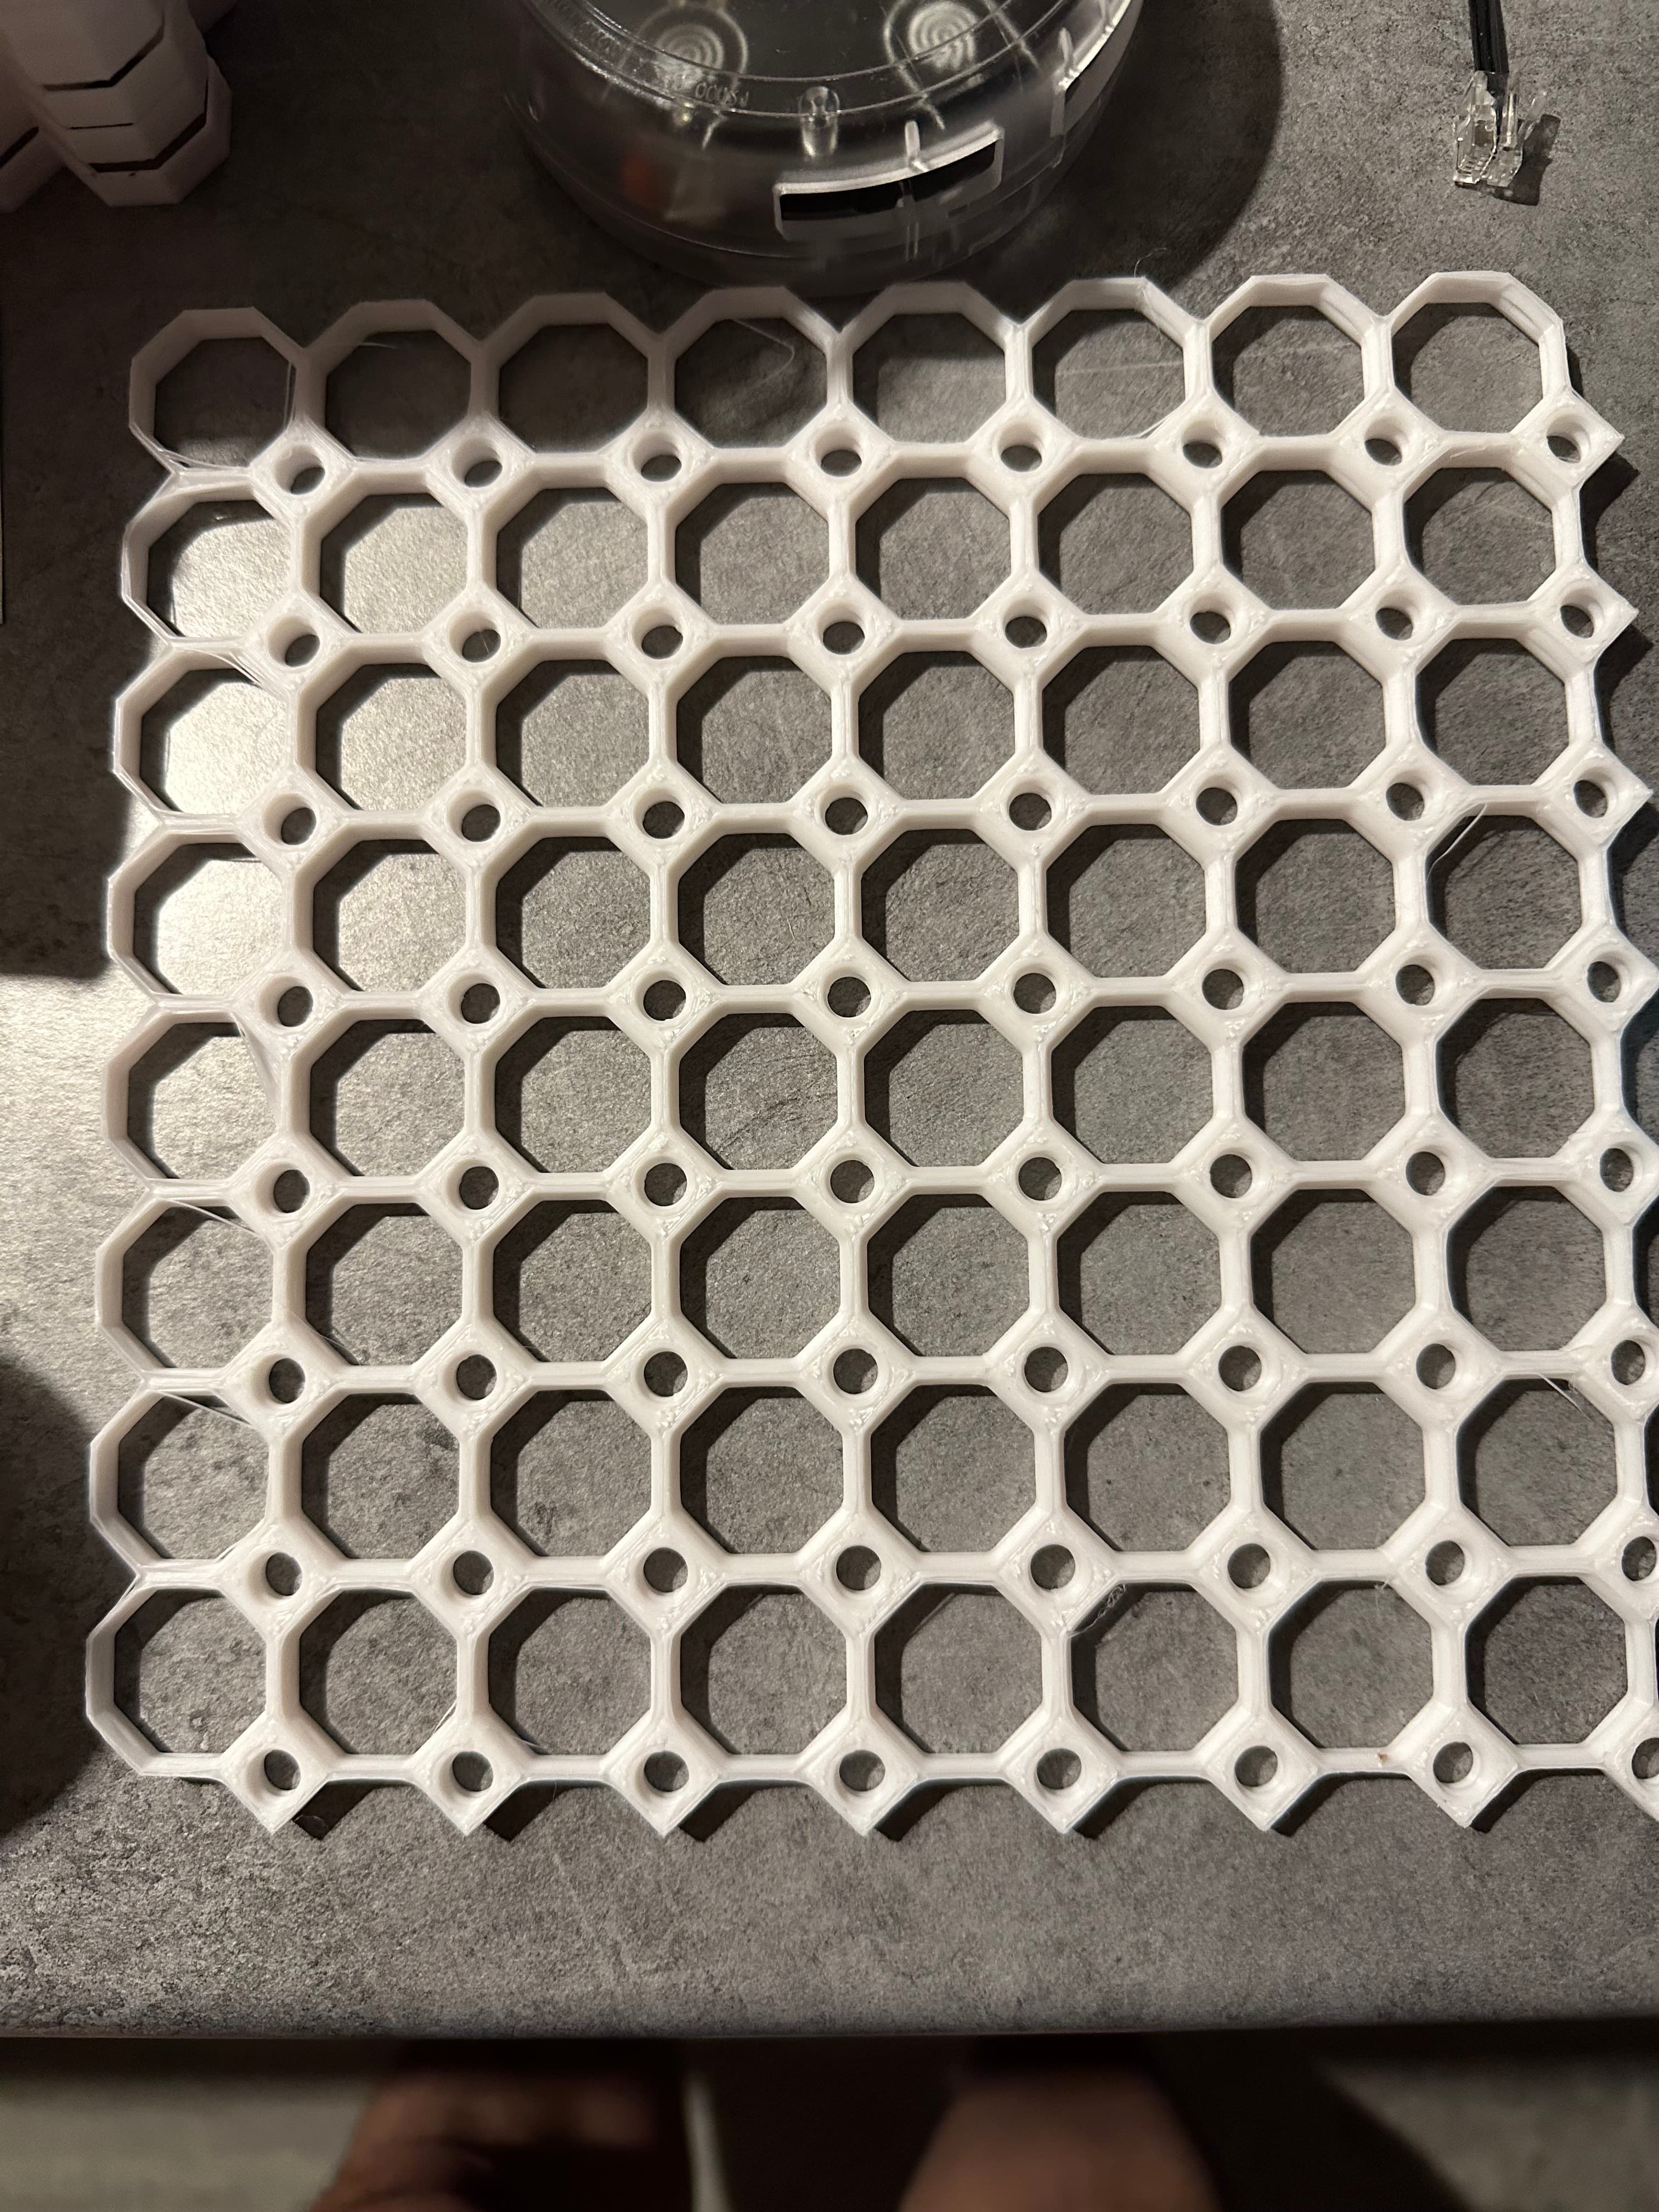
The Tiles have two types of holes: Multiholes and Pegboard Holes.
The Multiholes (big holes) are 25 mm apart and allow you to insert “Snap” pieces, in a similar way to the “Honeycomb Storage Wall'' system. The Multihole is also a threaded hole, allowing you to screw in Big Thread Bolts.
The Pegboard Holes (small holes) are 25 mm apart and allow you to use hundreds of pegboard accessories with the tiles. The Pegboard Holes are also threaded, allowing you to screw in Small Thread Bolts.
Tiles are also symmetrical on both sides.
This is a “Core” Tile, so it has two sides with pegboard holes, and forms most of your Multiboard.
Learn more about this part at https://multiboard.io/knowledge-hub
Printing Guidelines:
Video tutorial on how to print stacks: https://www.youtube.com/watch?v=xs2urfM0MRM
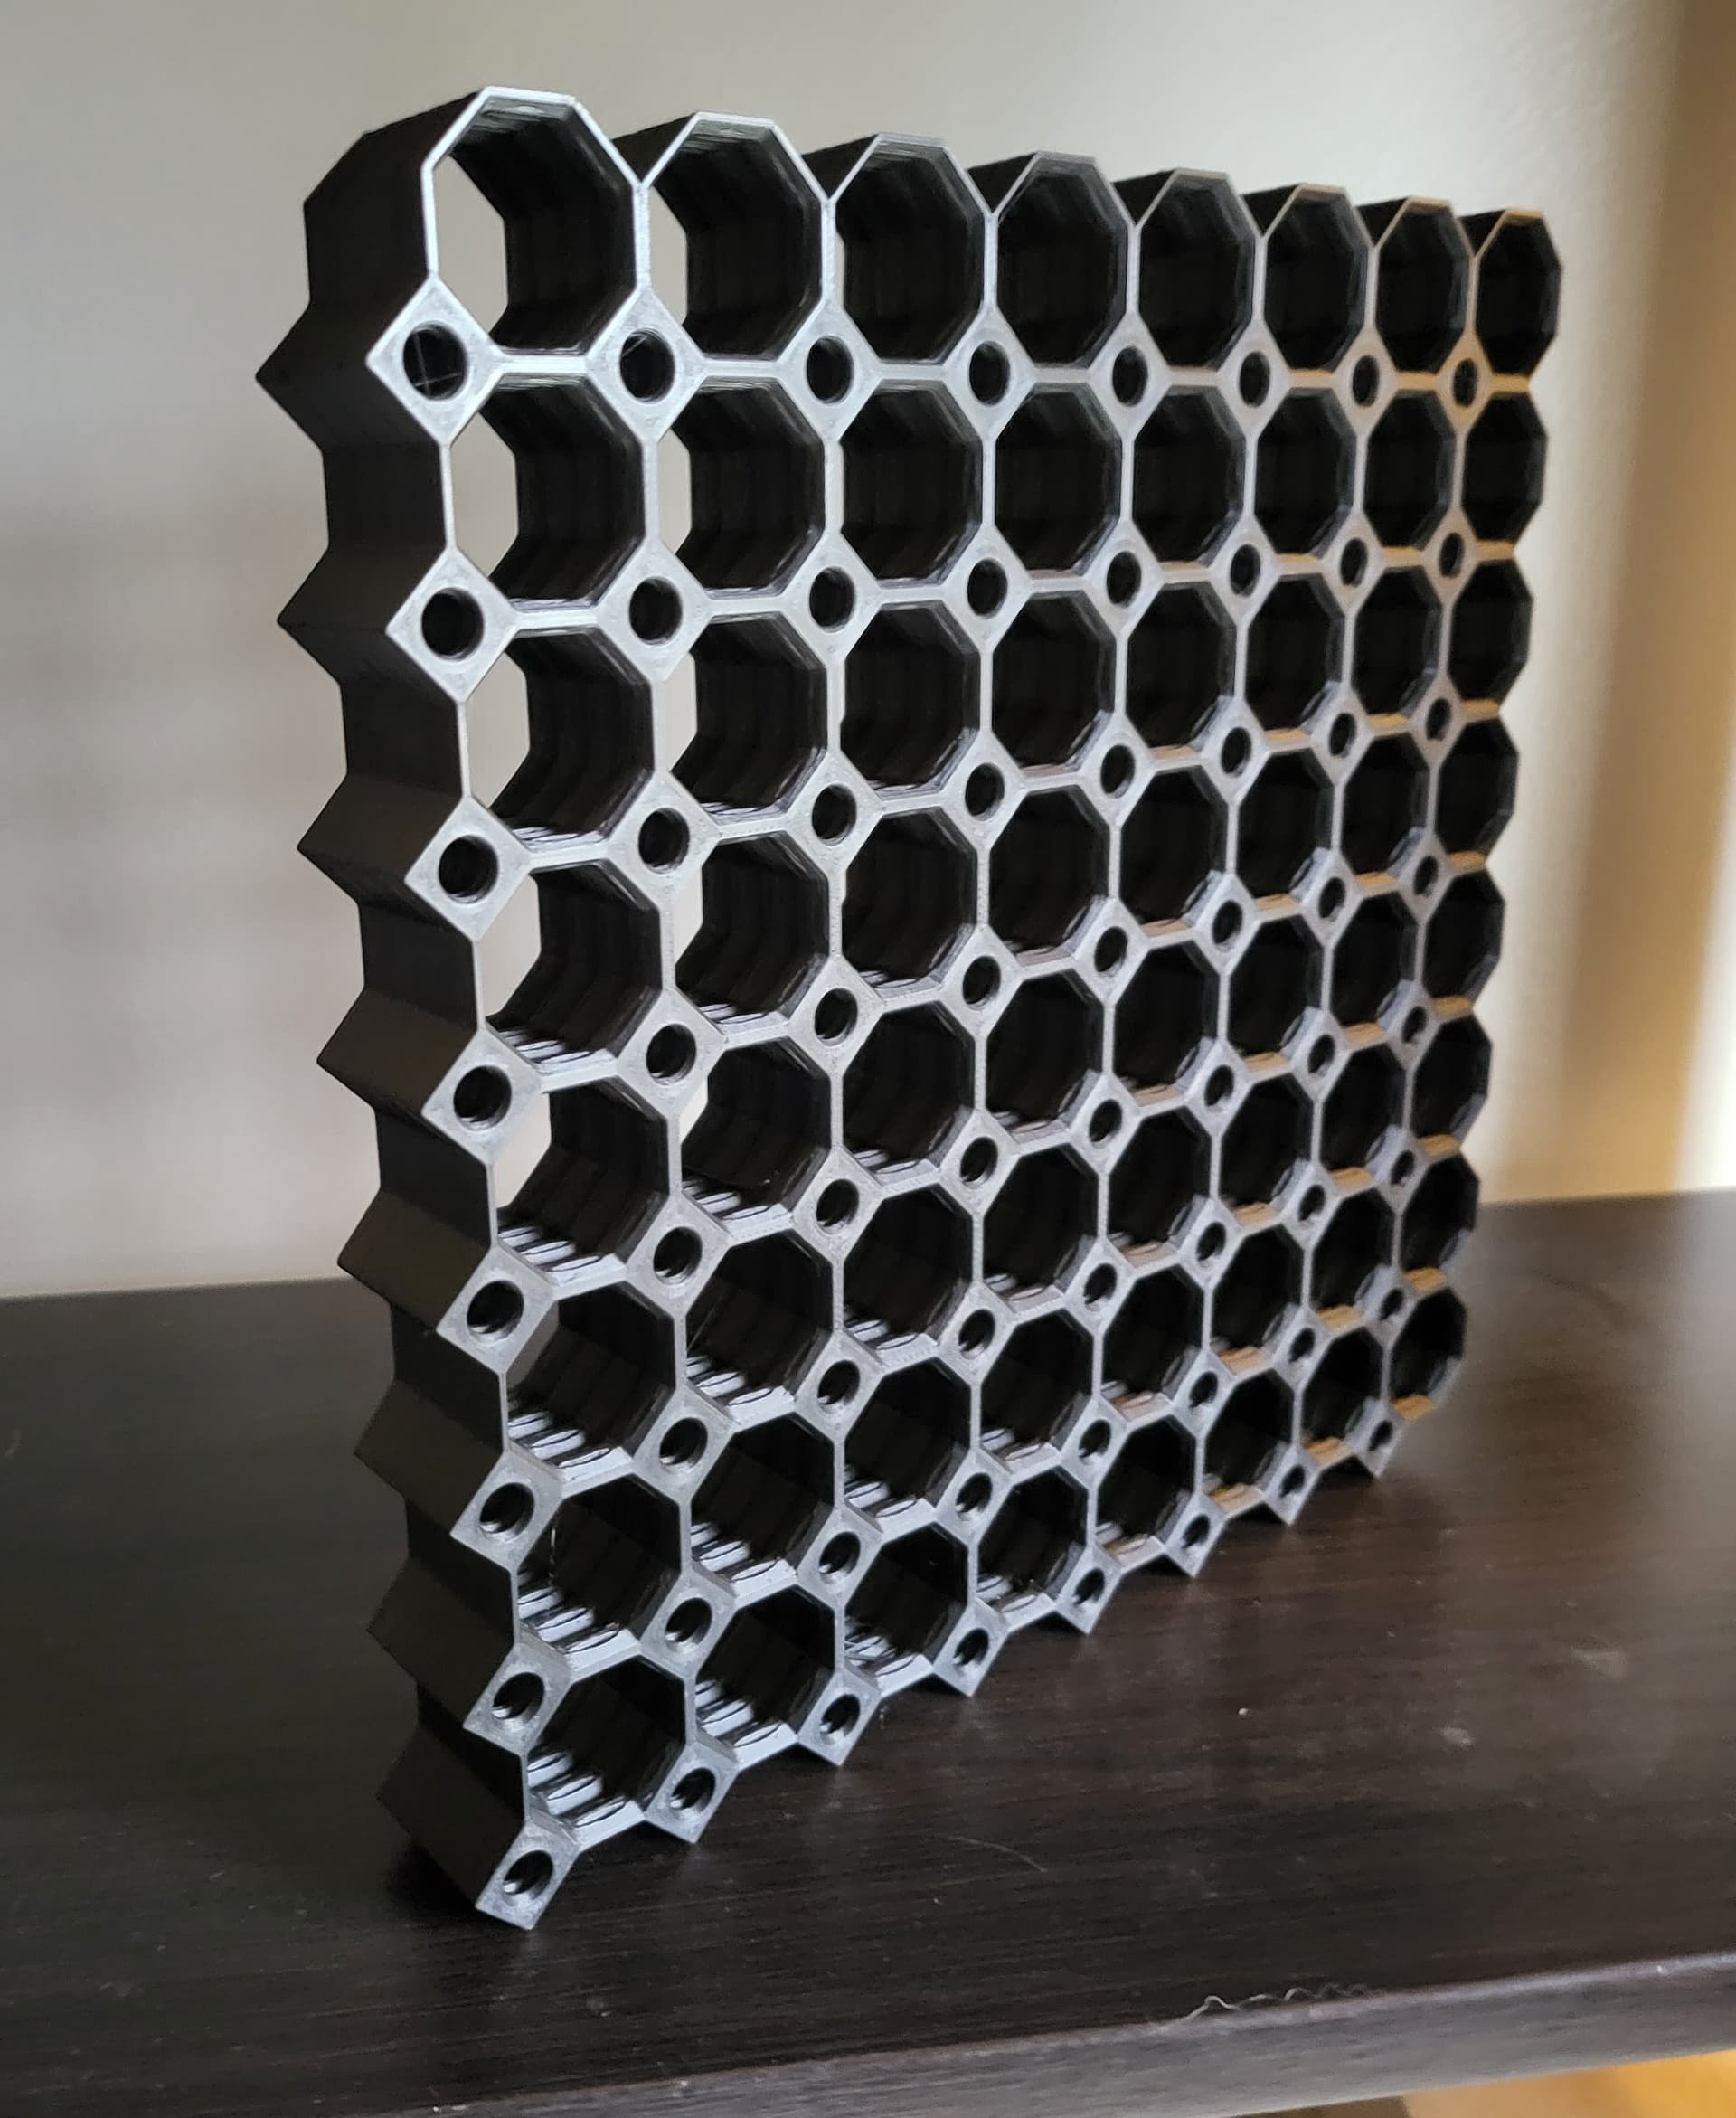
This stack print has been designed specifically for 0.2 mm layer heights. They have a 0.2 mm gap between each print. Make sure that all top surfaces get ironed. As a bonus, set the seam alignment to random for maximum strength.
Apart form that, use the default recommended settings: 3 wall perimeters in wall thickness. 15% infill. No supports are needed. The printing orientation is as provided in the file.
Also, keep in mind that one side of the tiles aren’t going to come out as nice as printing individually (in case you want to use them double-sided).
—
This object is part of Multiboard, a FREE "all in one" organization system with 700+ parts, that combines pegboard holes, honeycomb snaps, Gridfinity like bins, threads, brakes, and much more.
Explore and build the coolest, most adaptable workshop at https://multiboard.io
8x8 MU - Center Grid Interfitted - MultiBoard Octagon Plate - 4x Ironing Stack
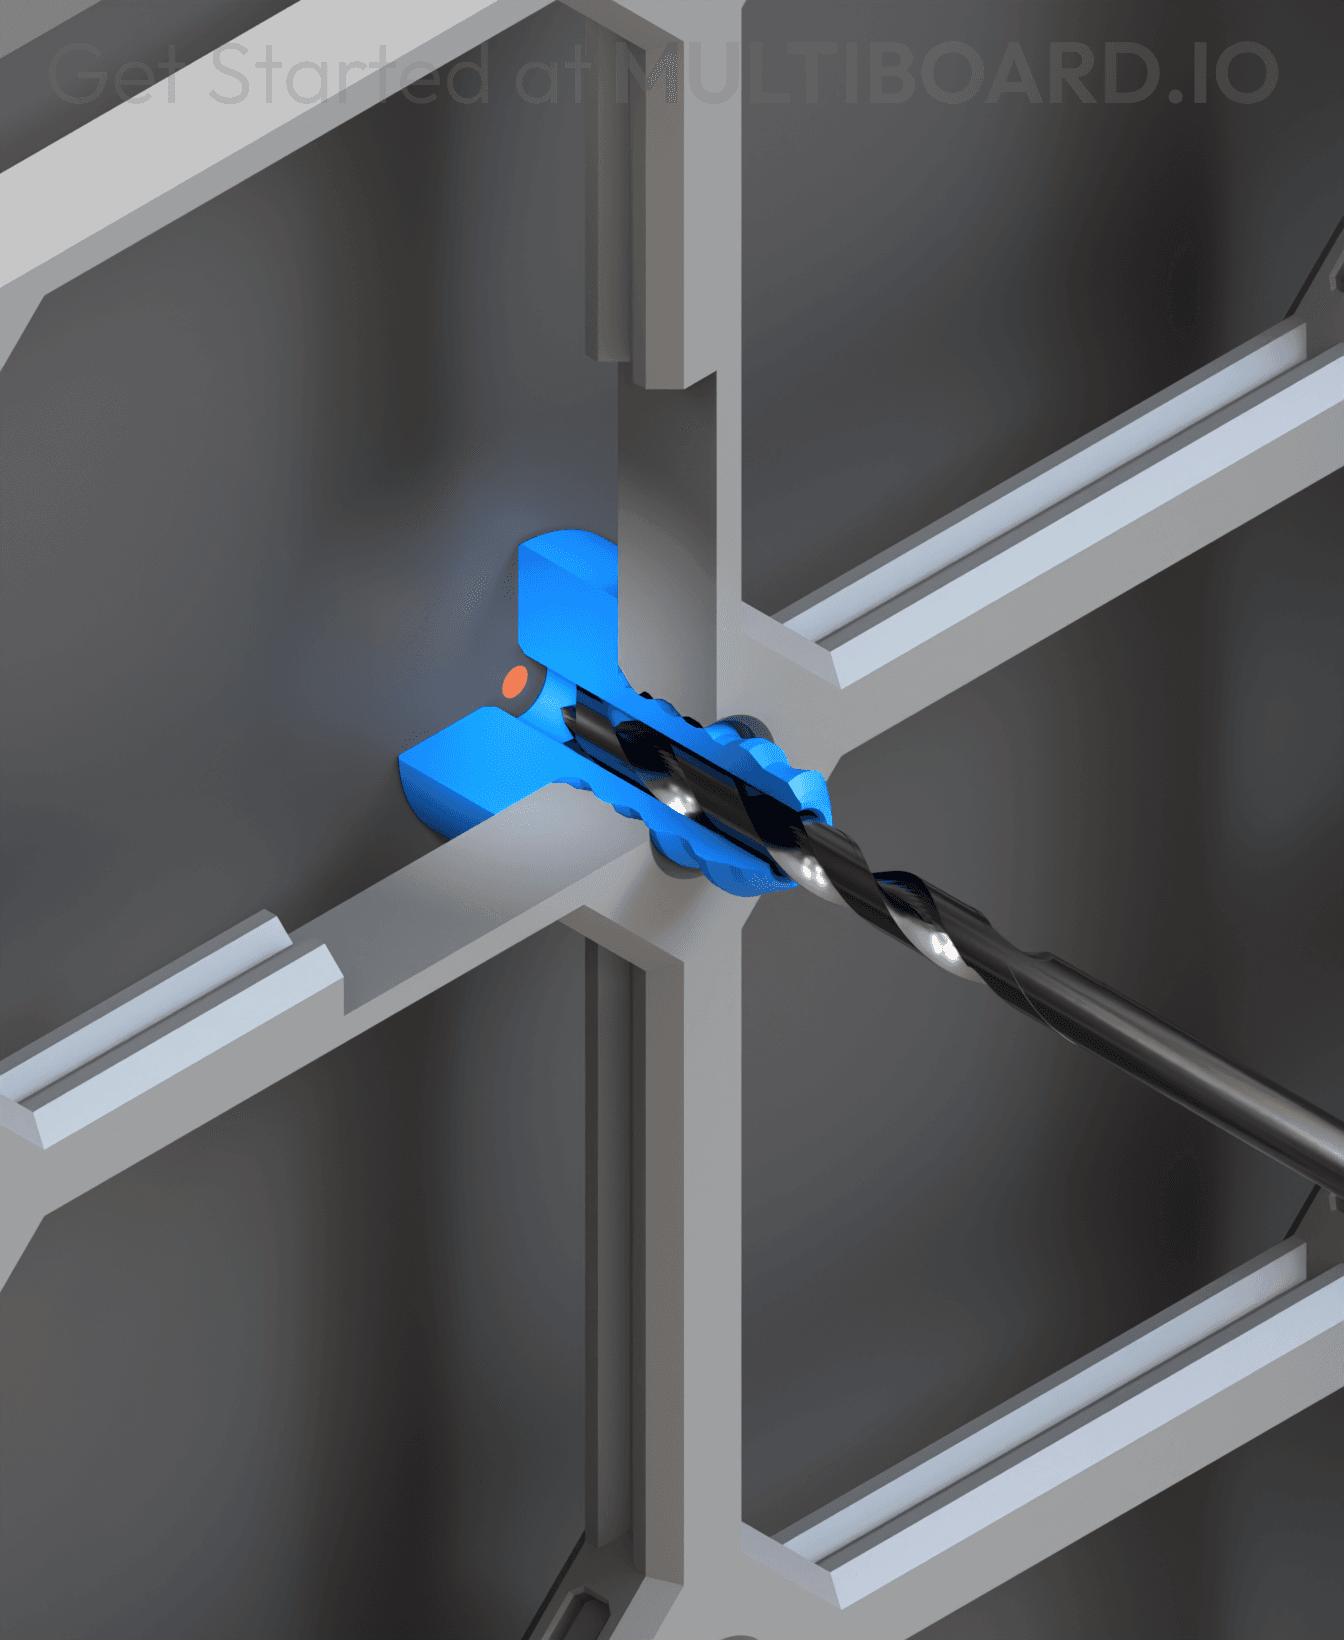
Fix Point to Countersink Adapter

Flush - Small Hole Center Marking Tool
6.25 Offset - Small Hole Center Marking Tool
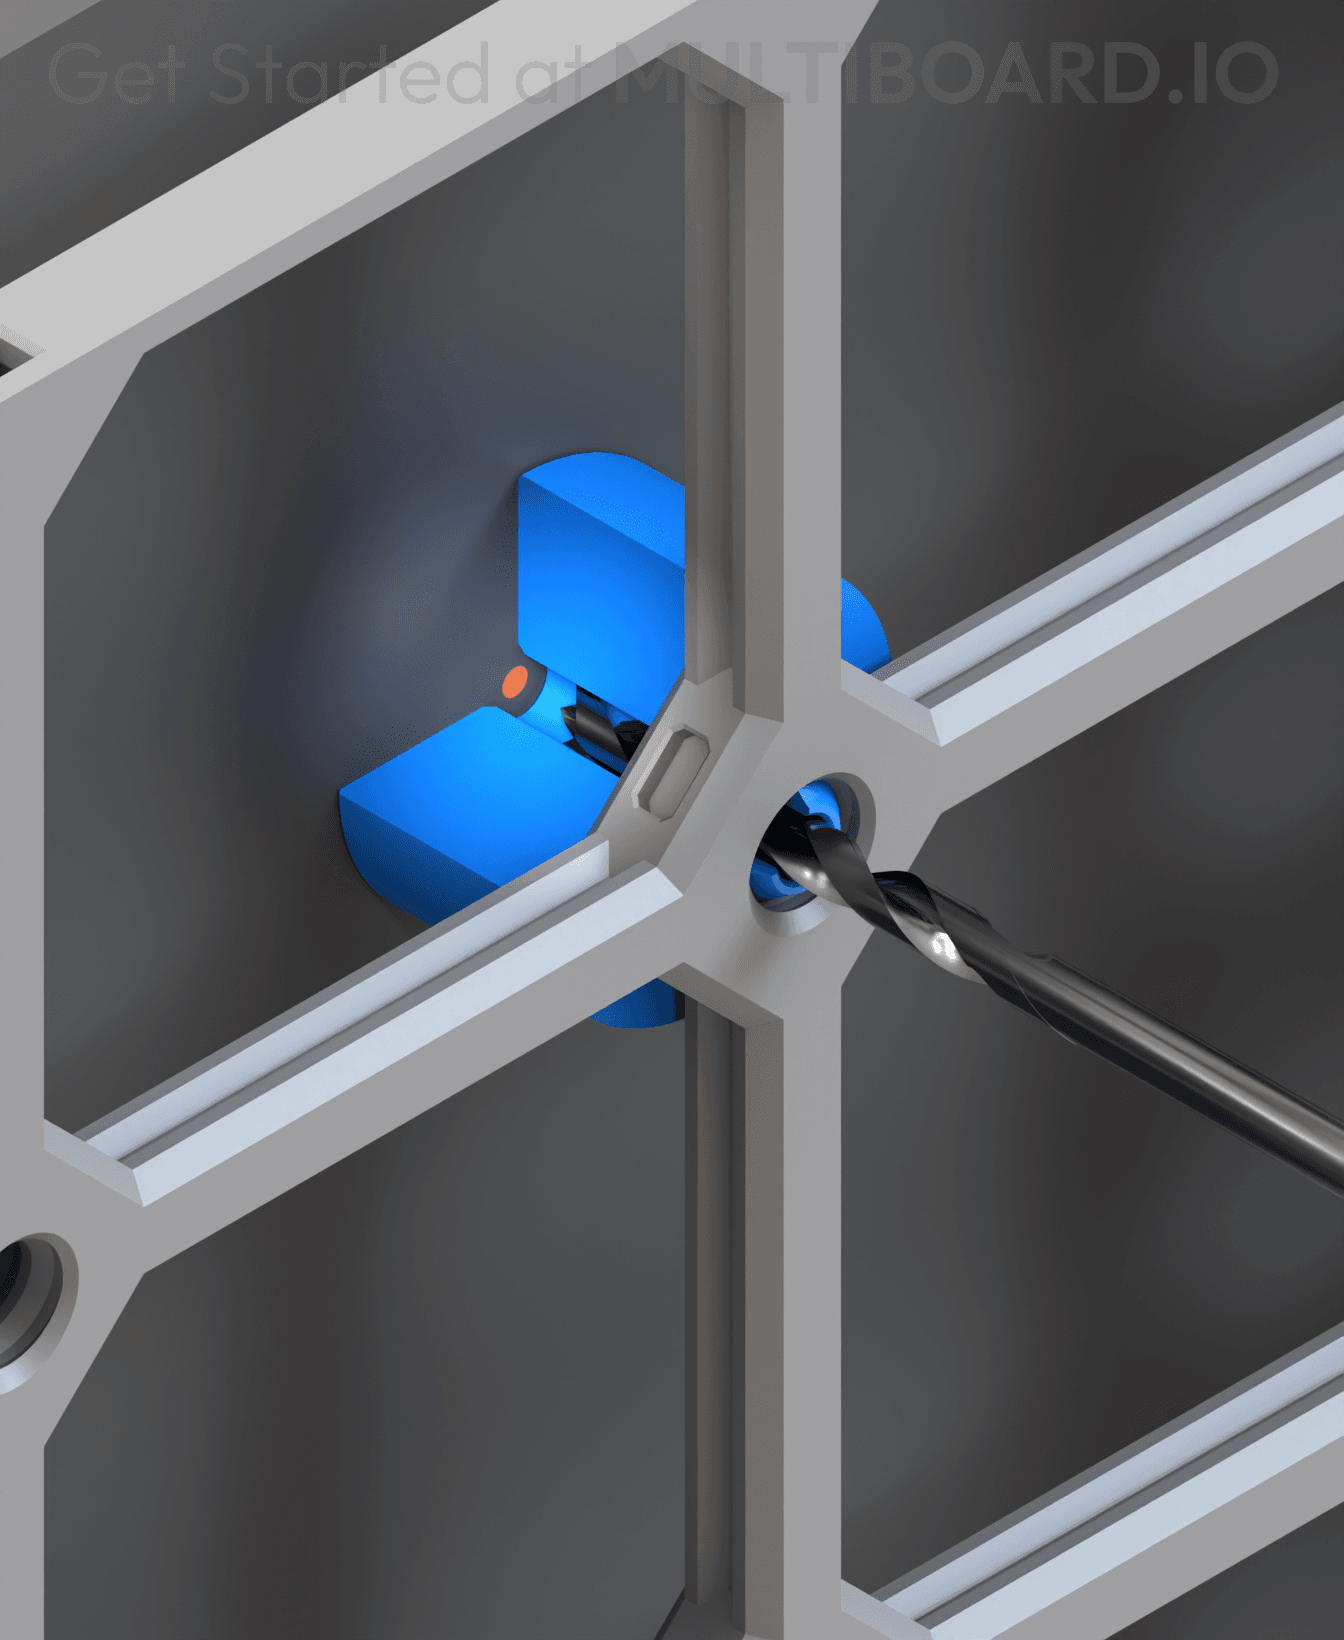
12.5 Offset - Small Hole Center Marking Tool
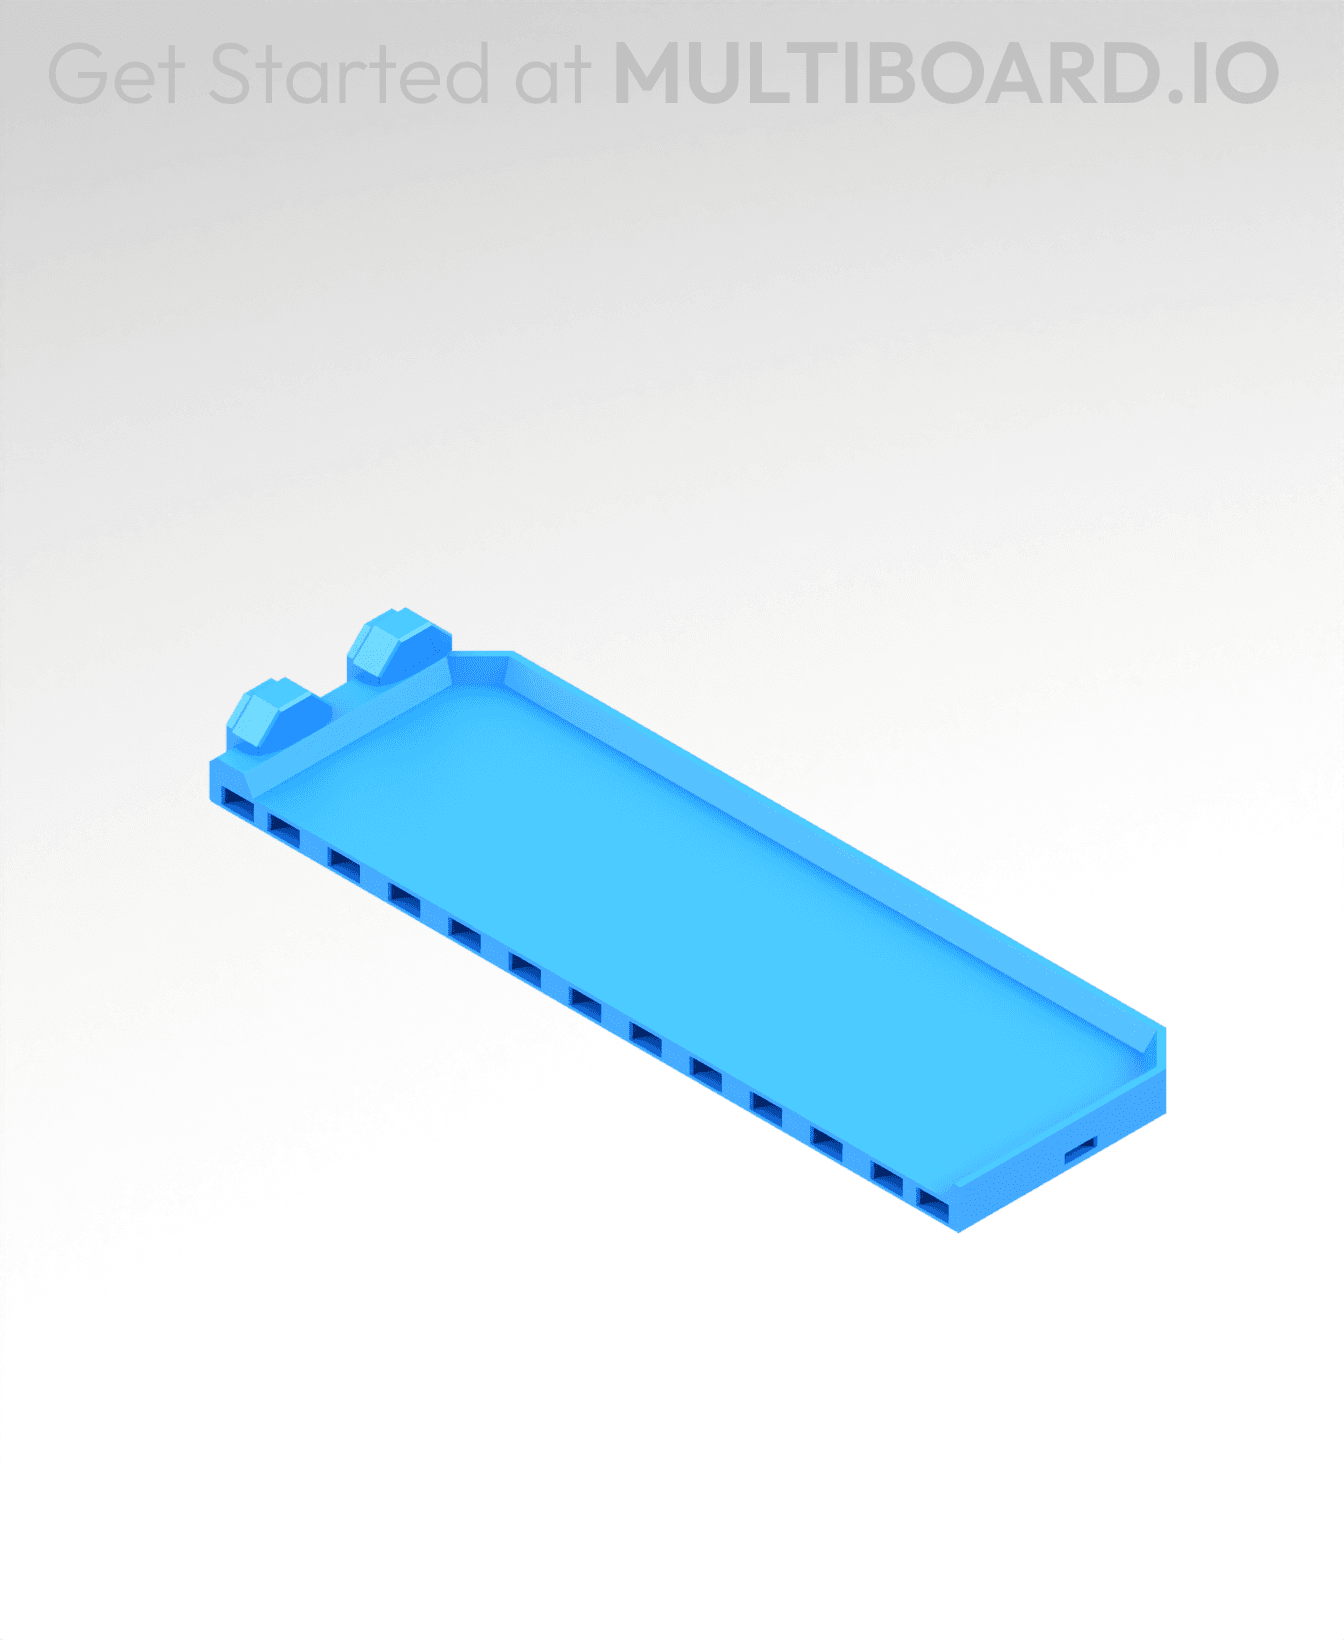
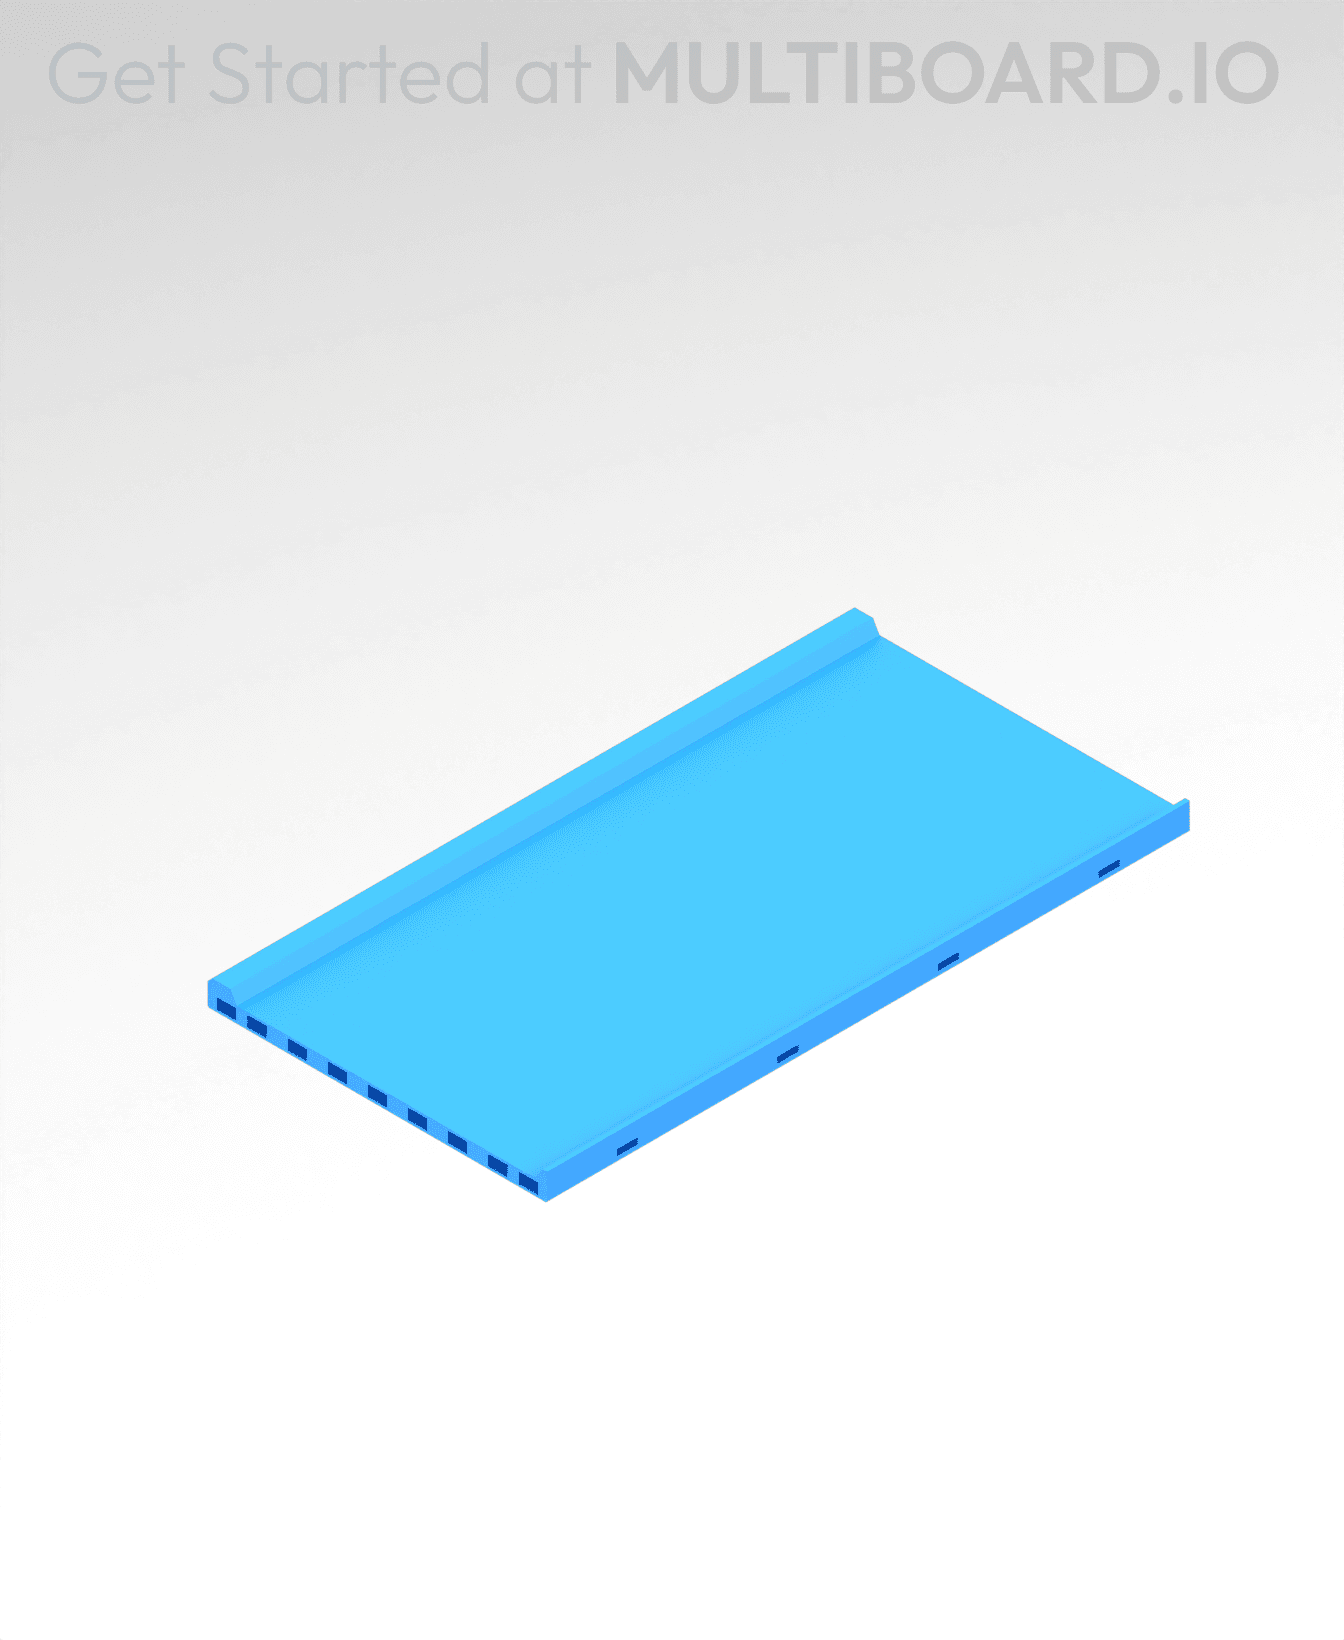
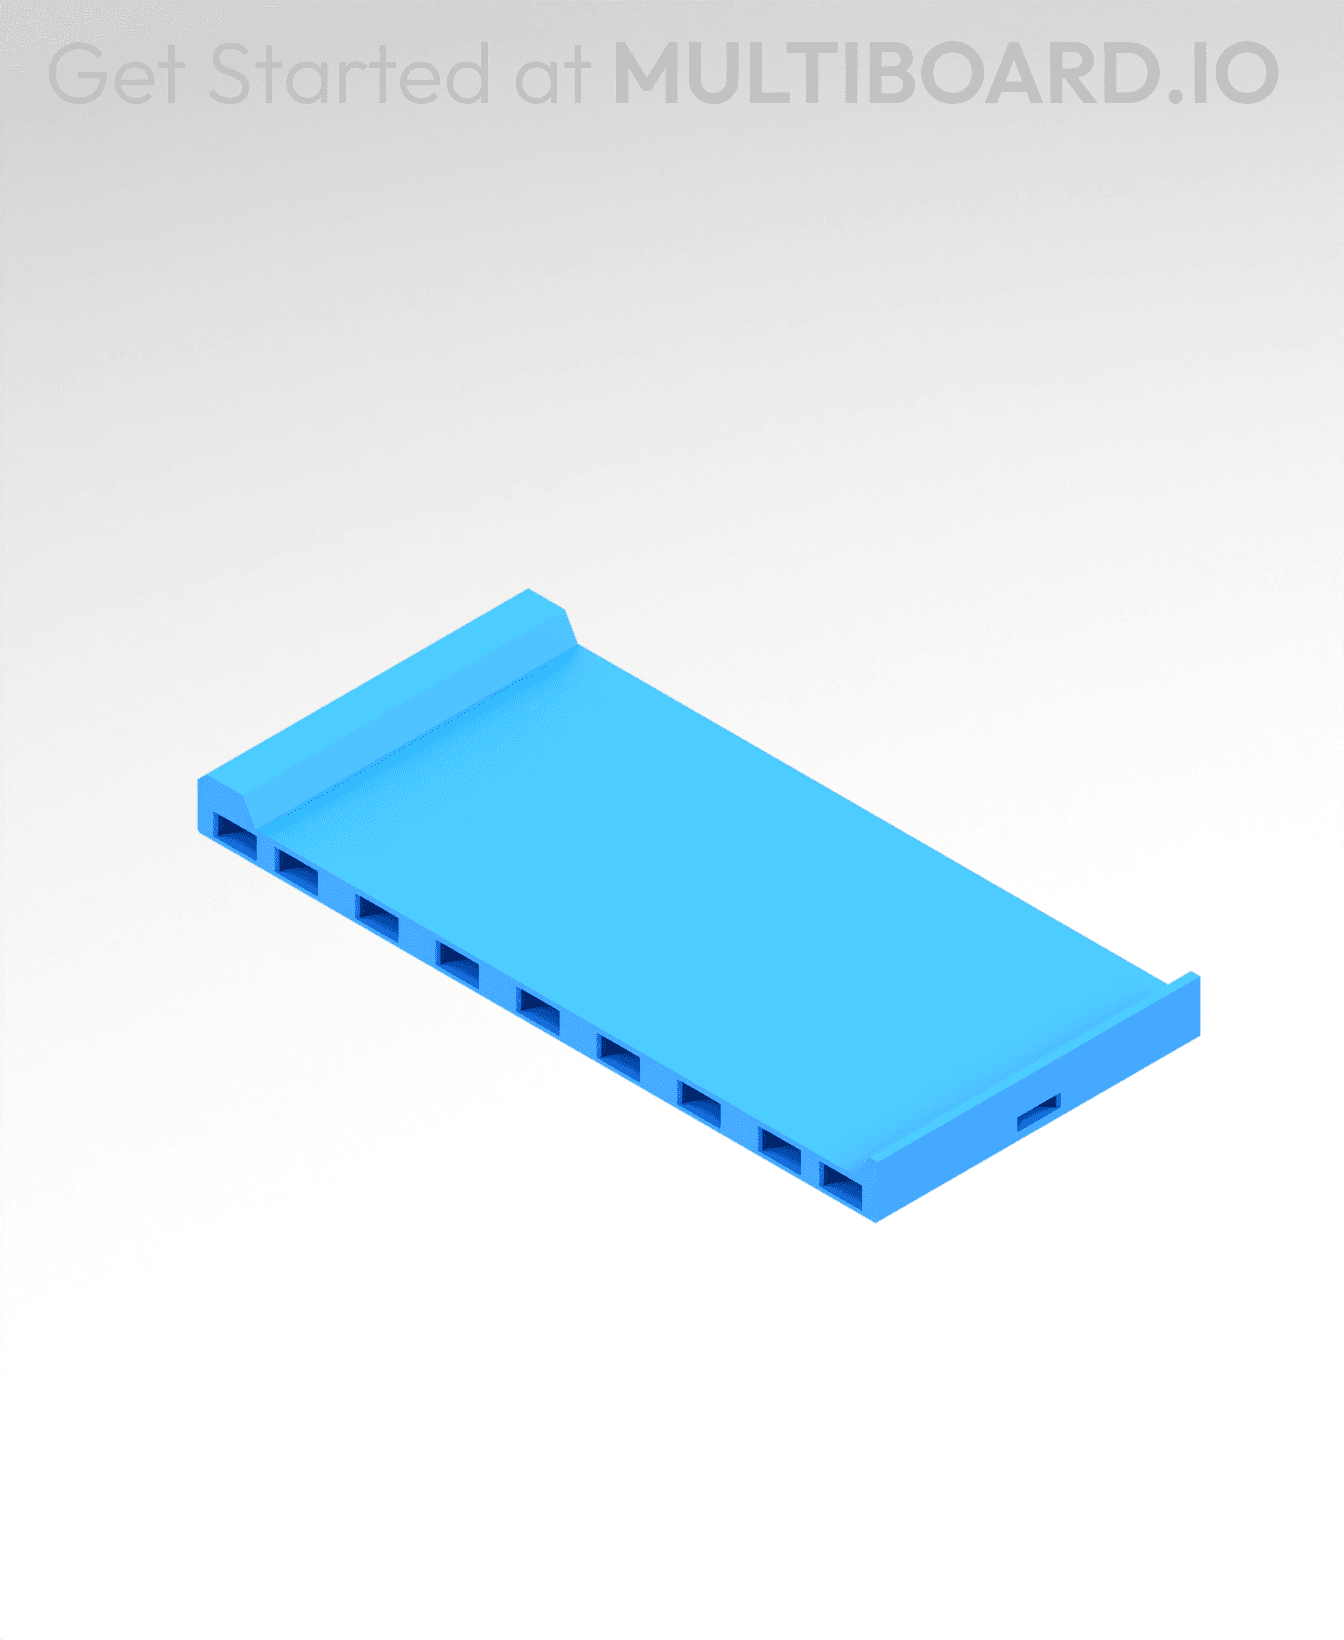
2x6 MU - Right Support End - Modular Bolt-Locked Shelf
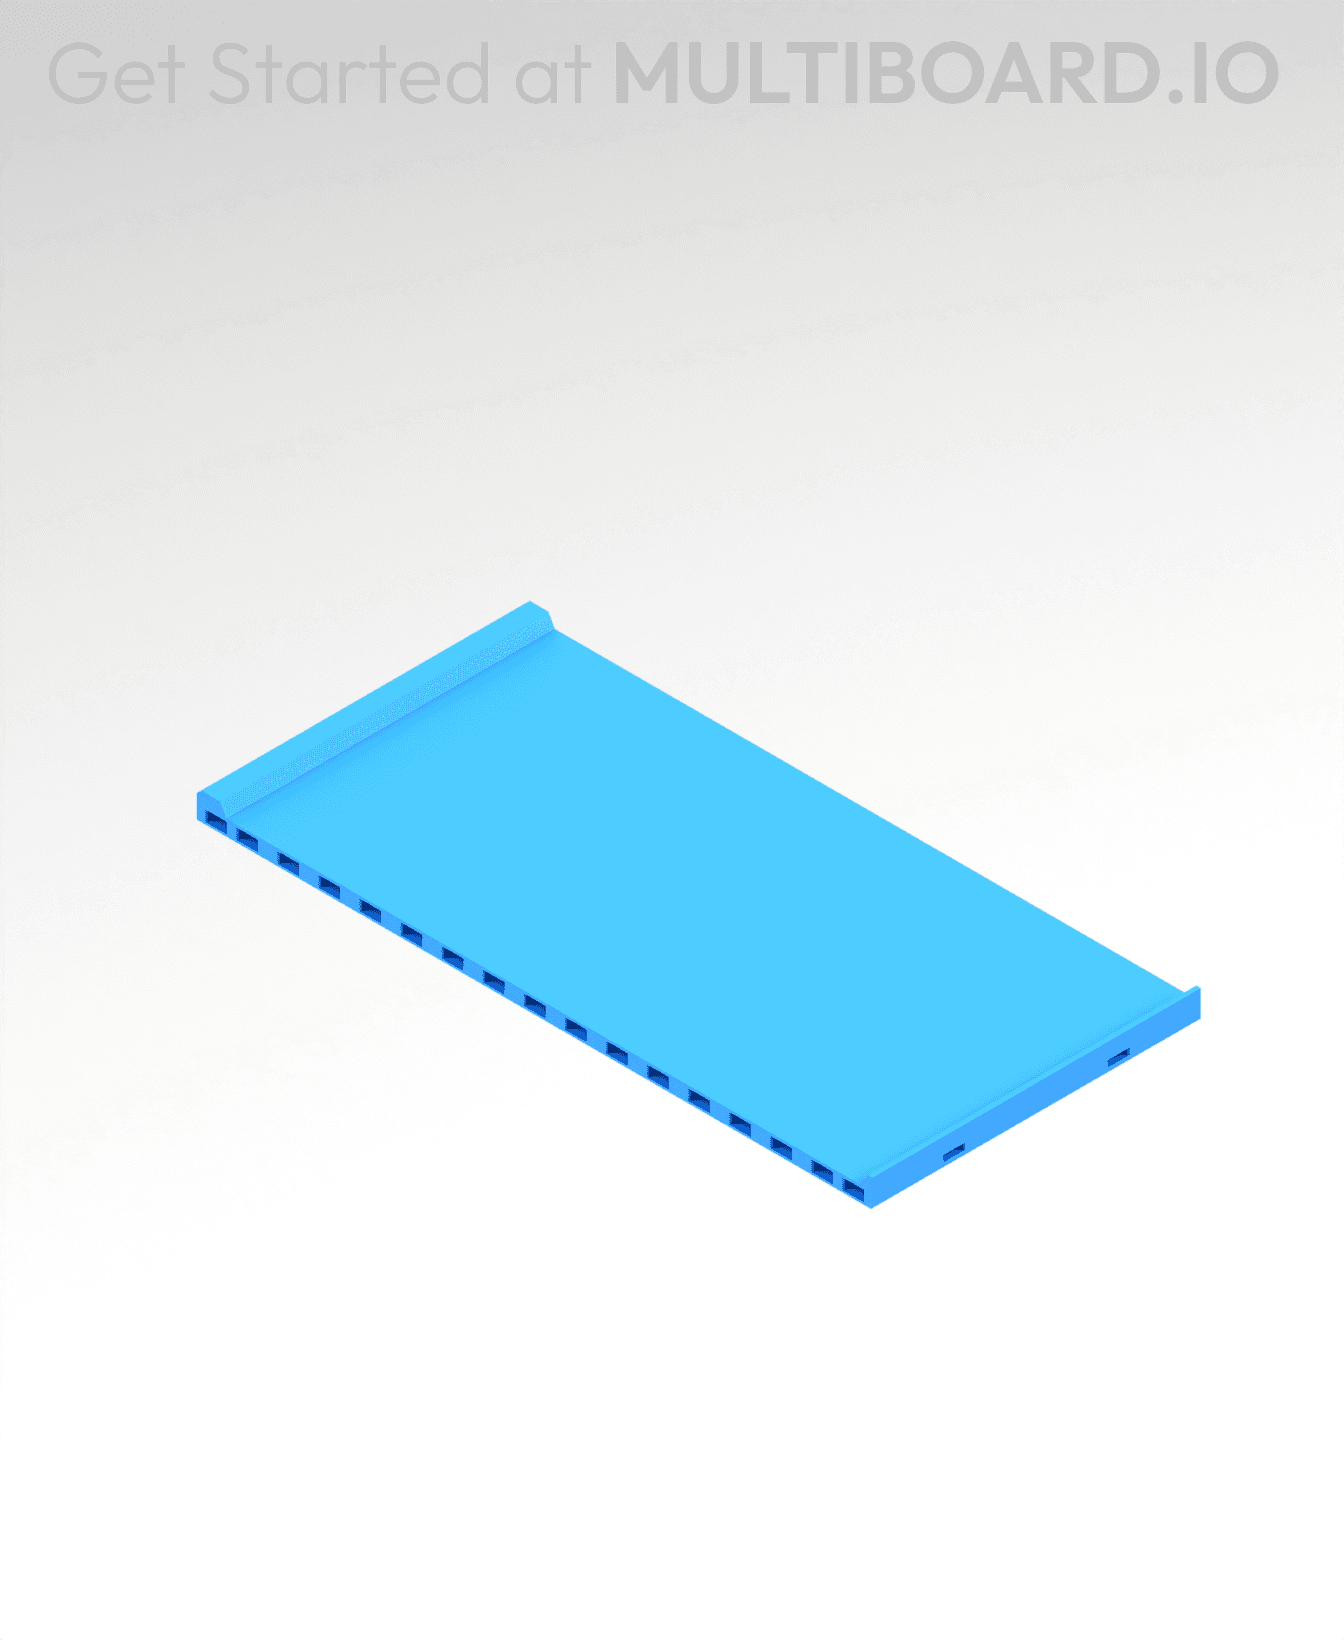
4x8 MU - Center - Modular Bolt-Locked Shelf
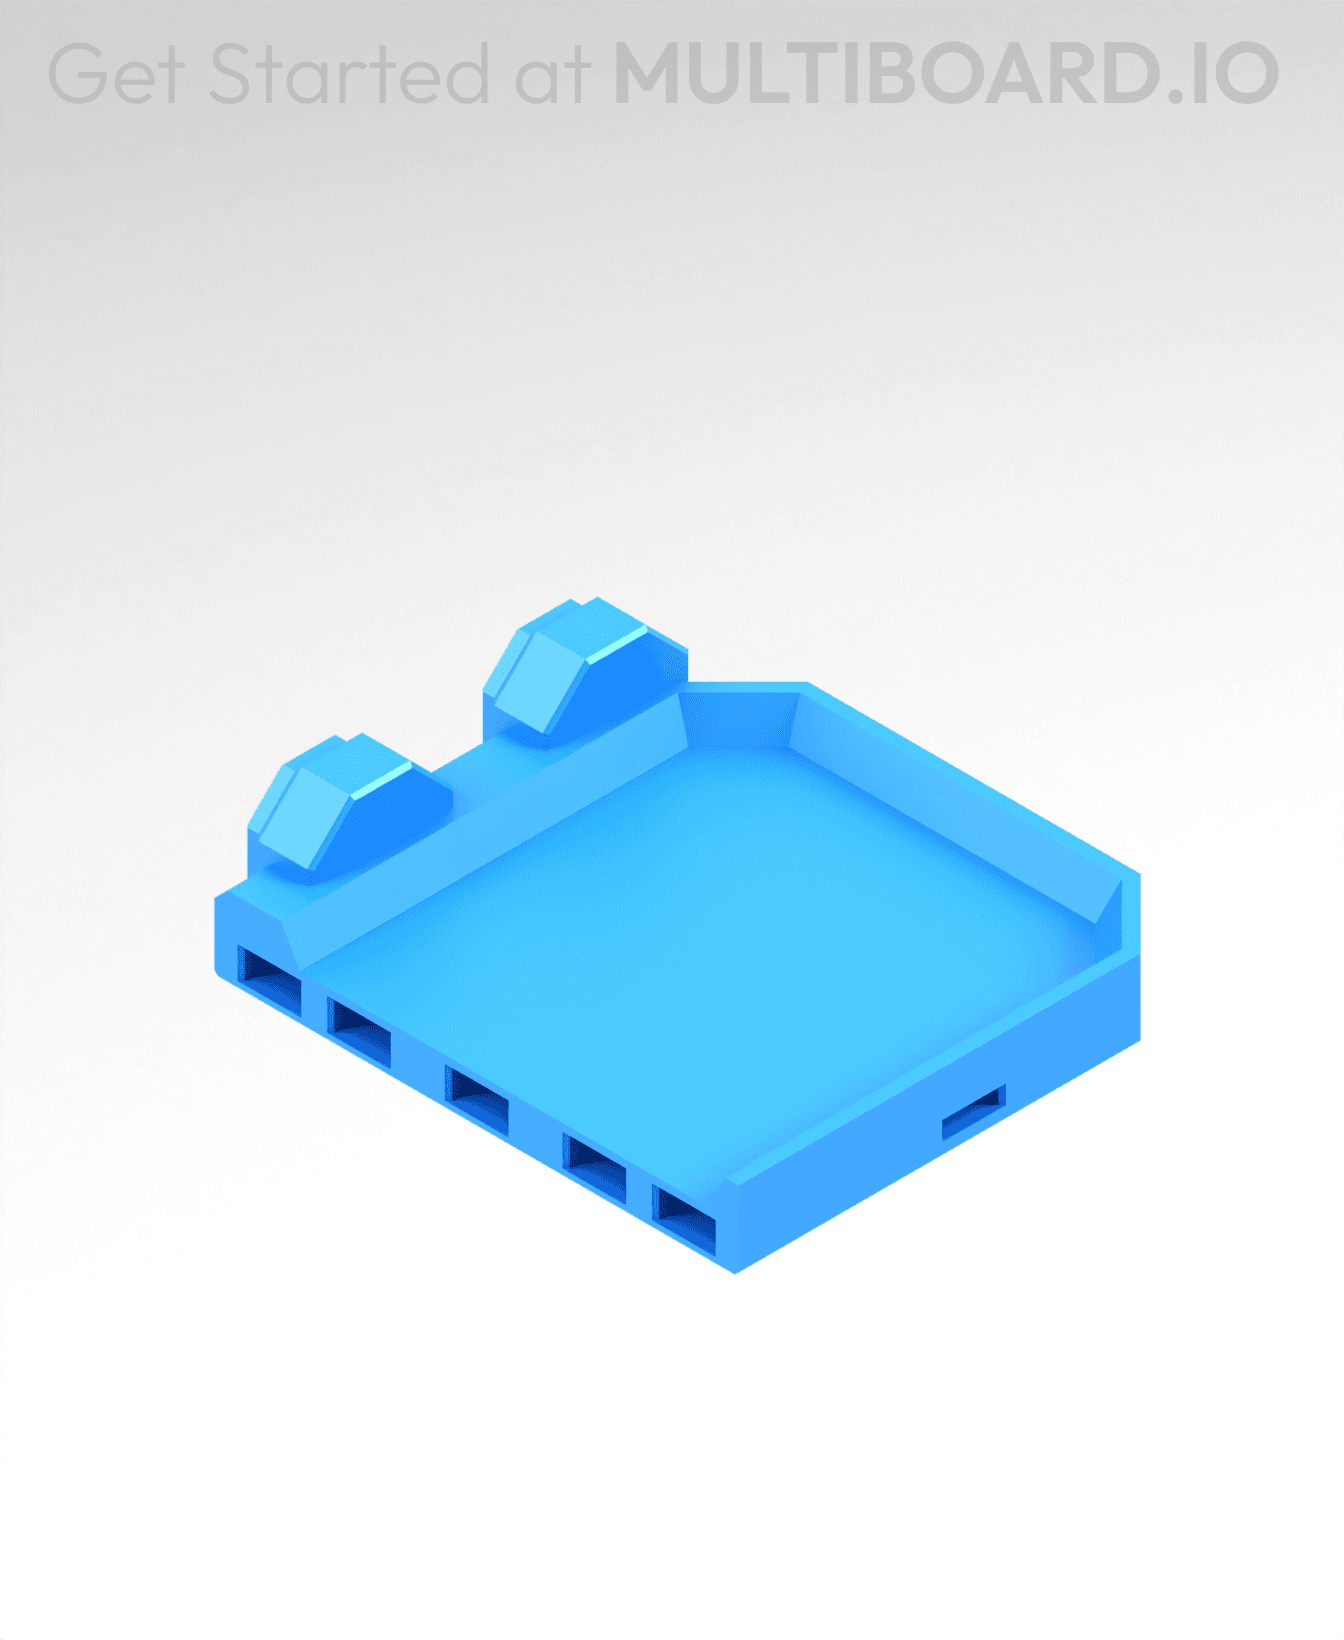
2x2 MU - Right Support End - Modular Bolt-Locked Shelf
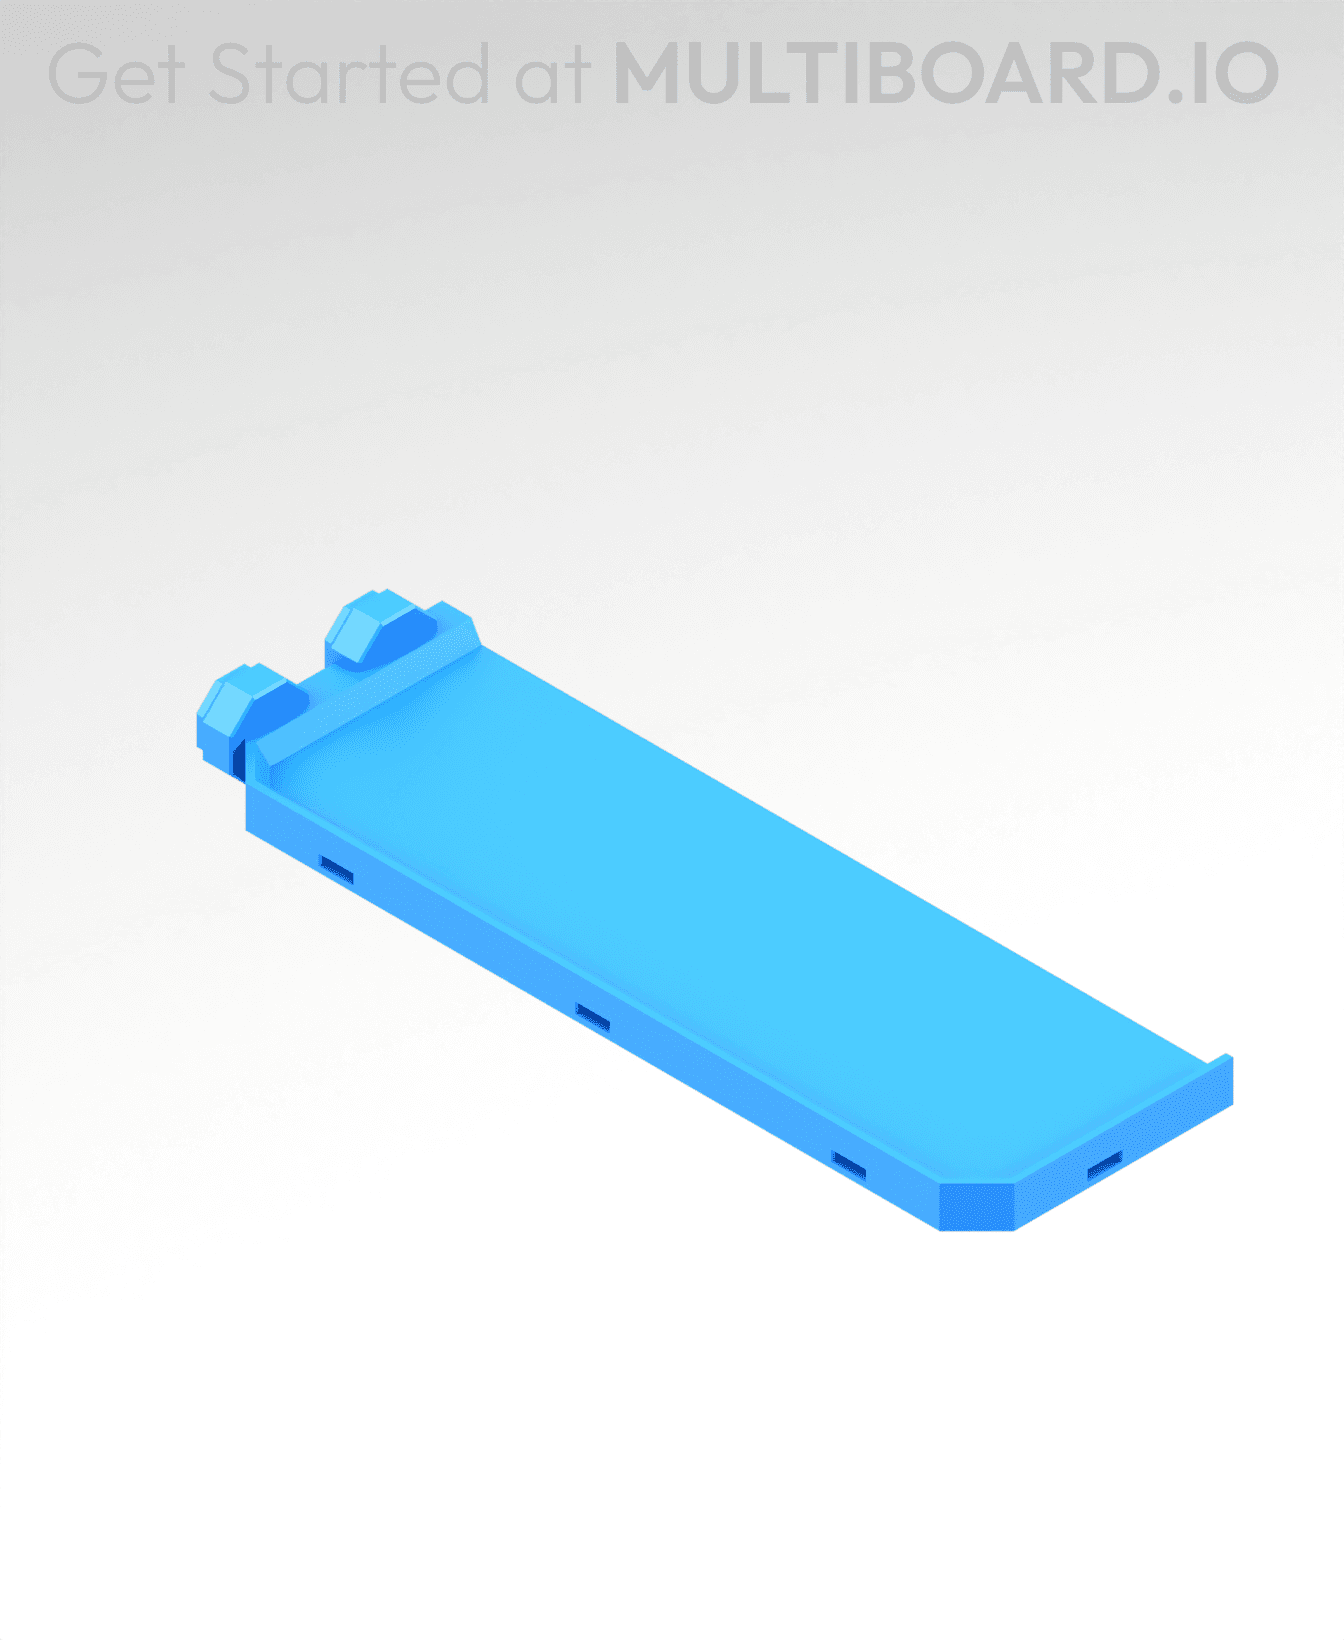
2x6 MU - Left Support End - Modular Bolt-Locked Shelf
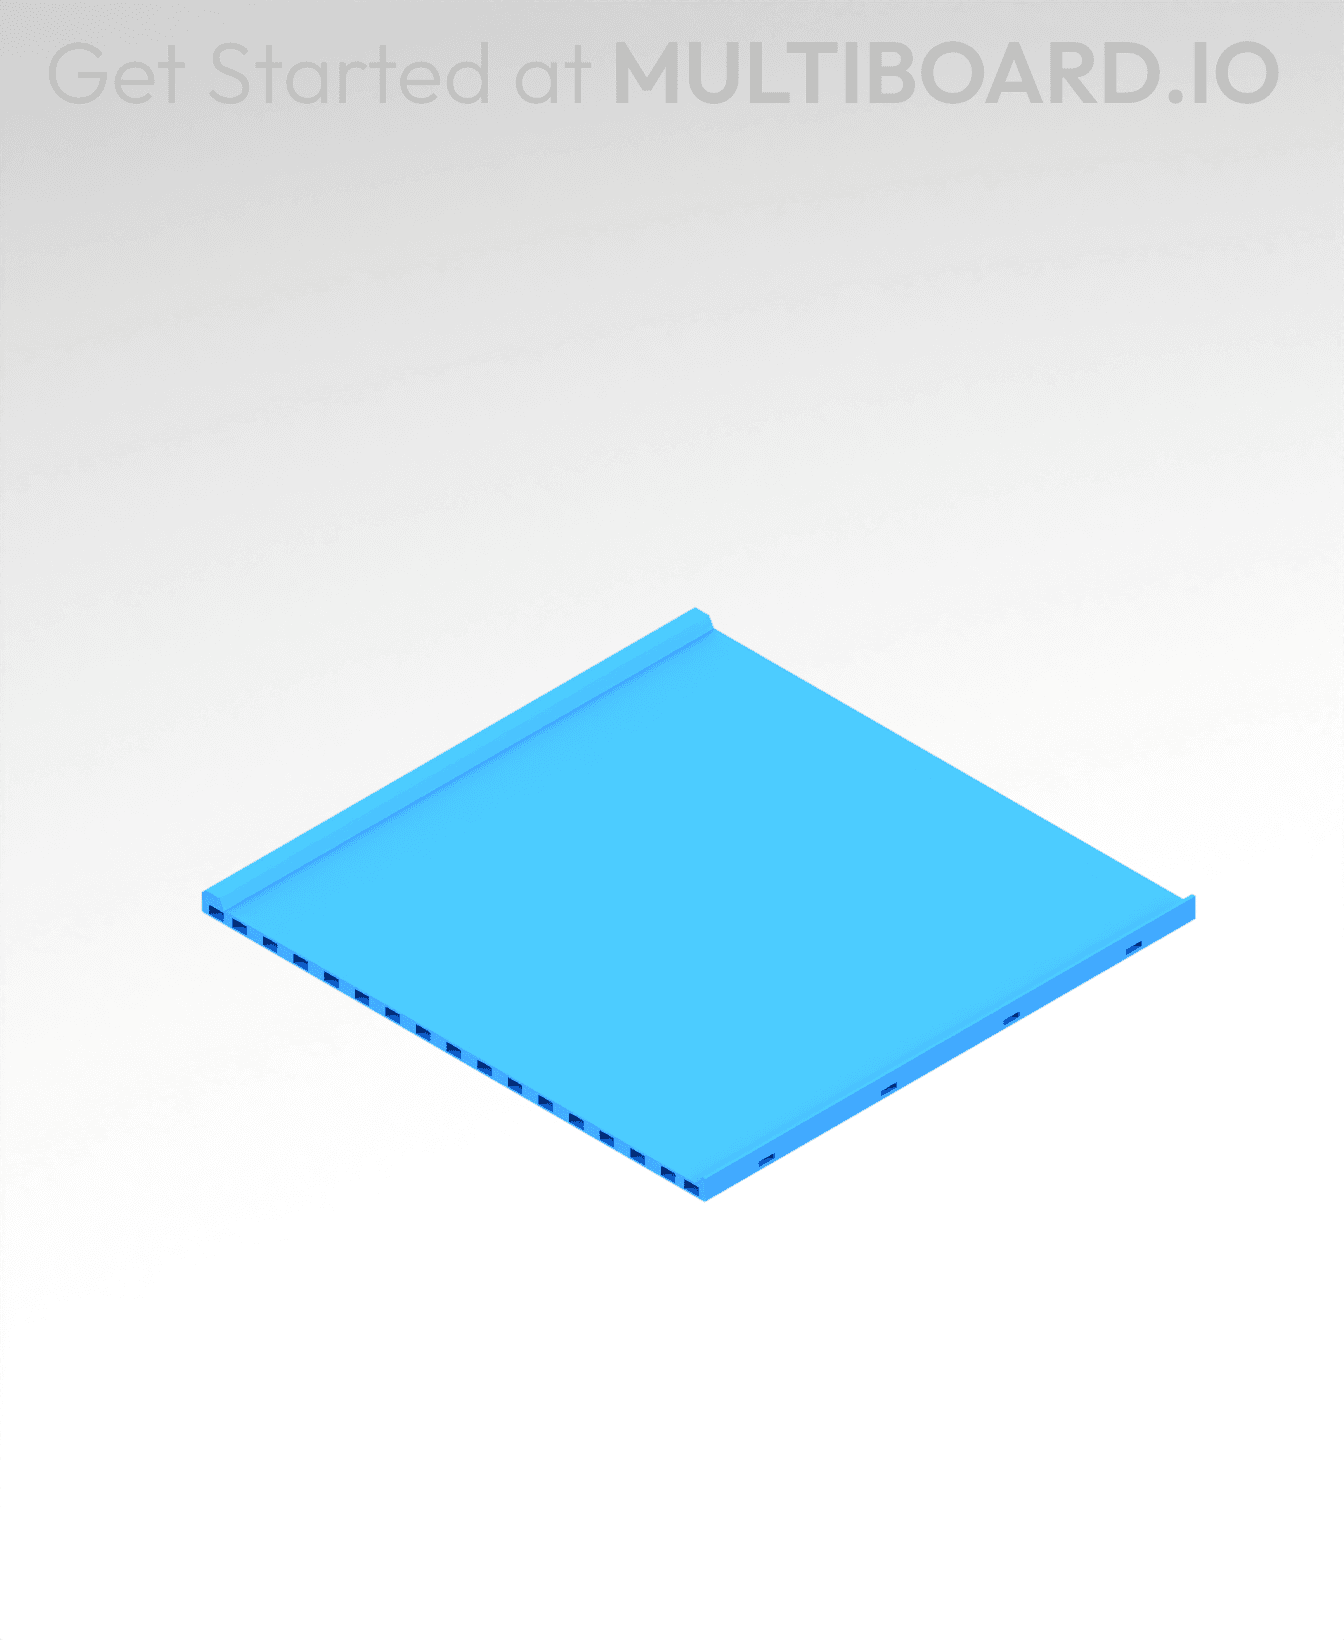
8x8 MU - Center - Modular Bolt-Locked Shelf
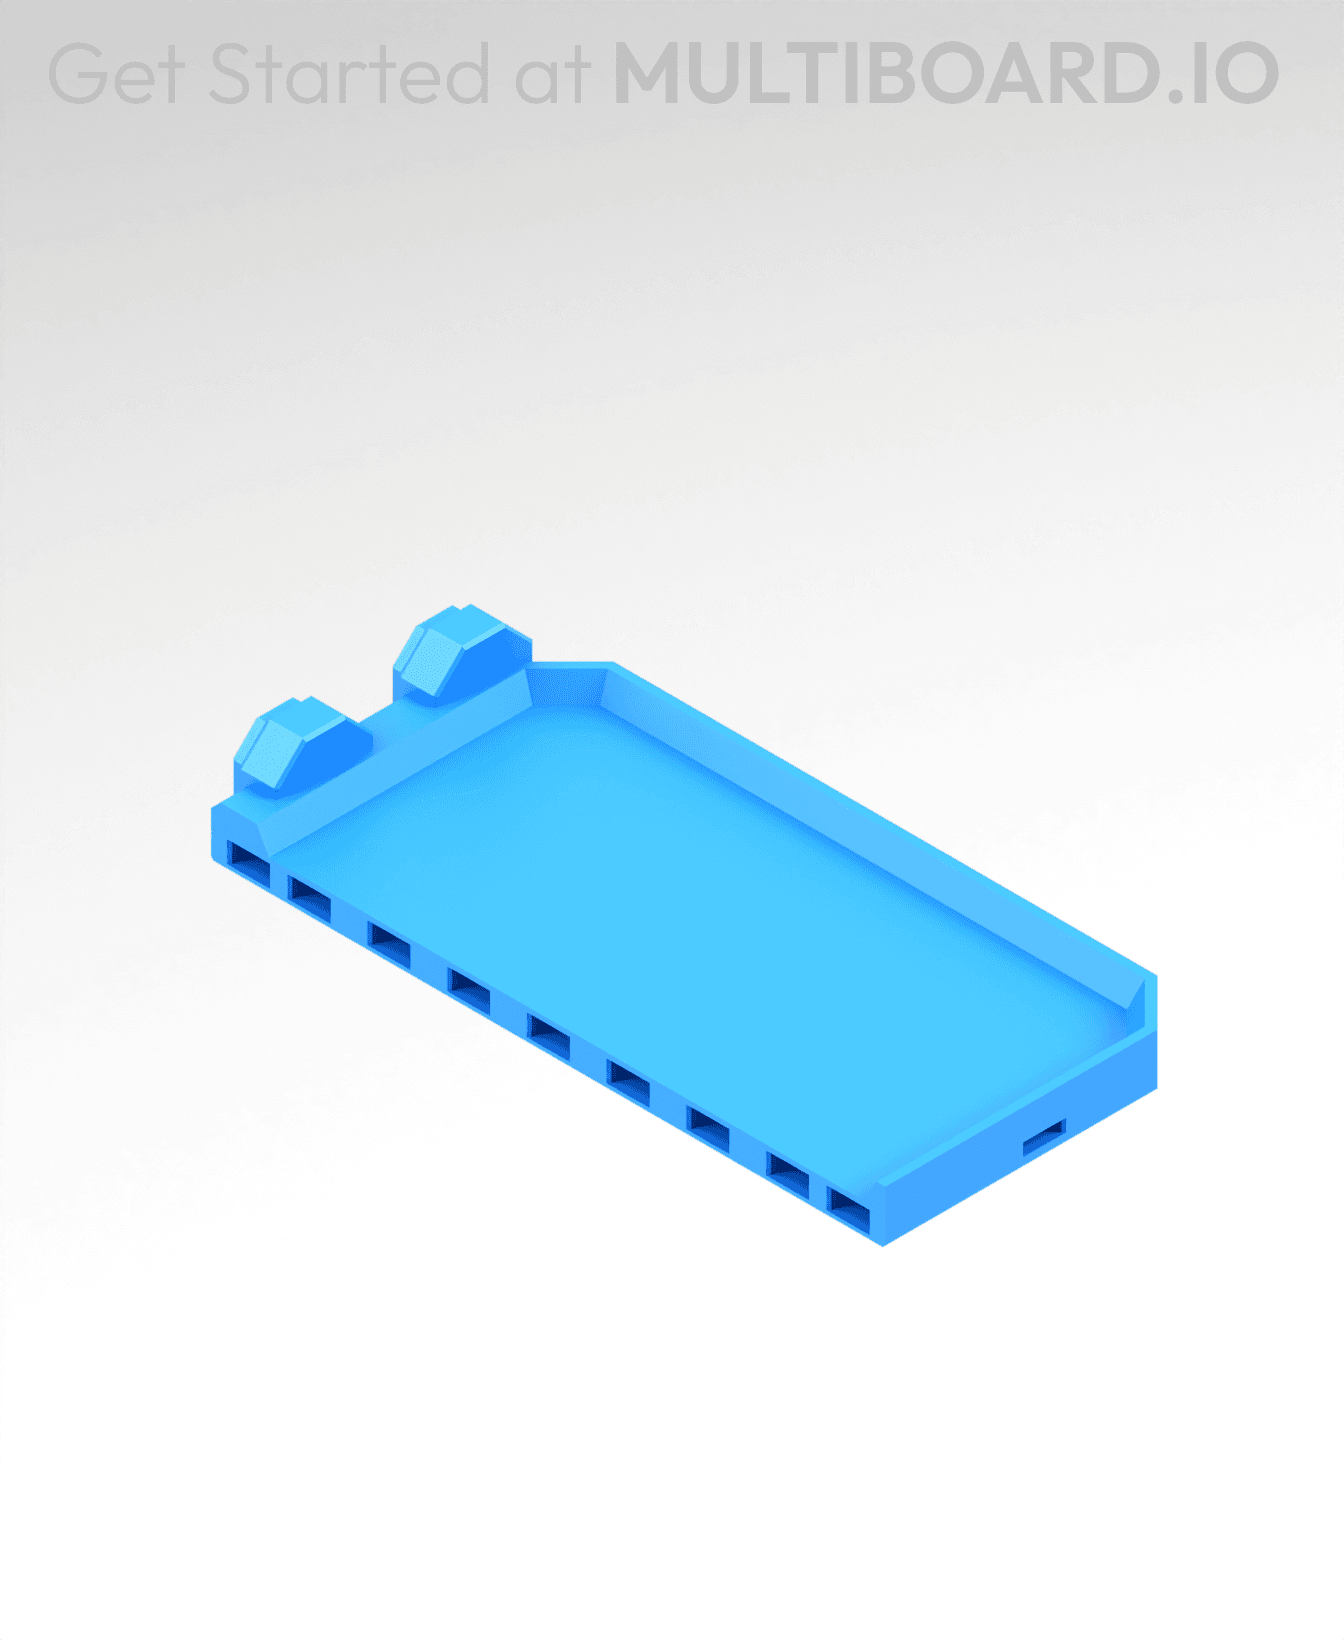
2x4 MU - Right Support End - Modular Bolt-Locked Shelf
4x6 MU - Center - Modular Bolt-Locked Shelf
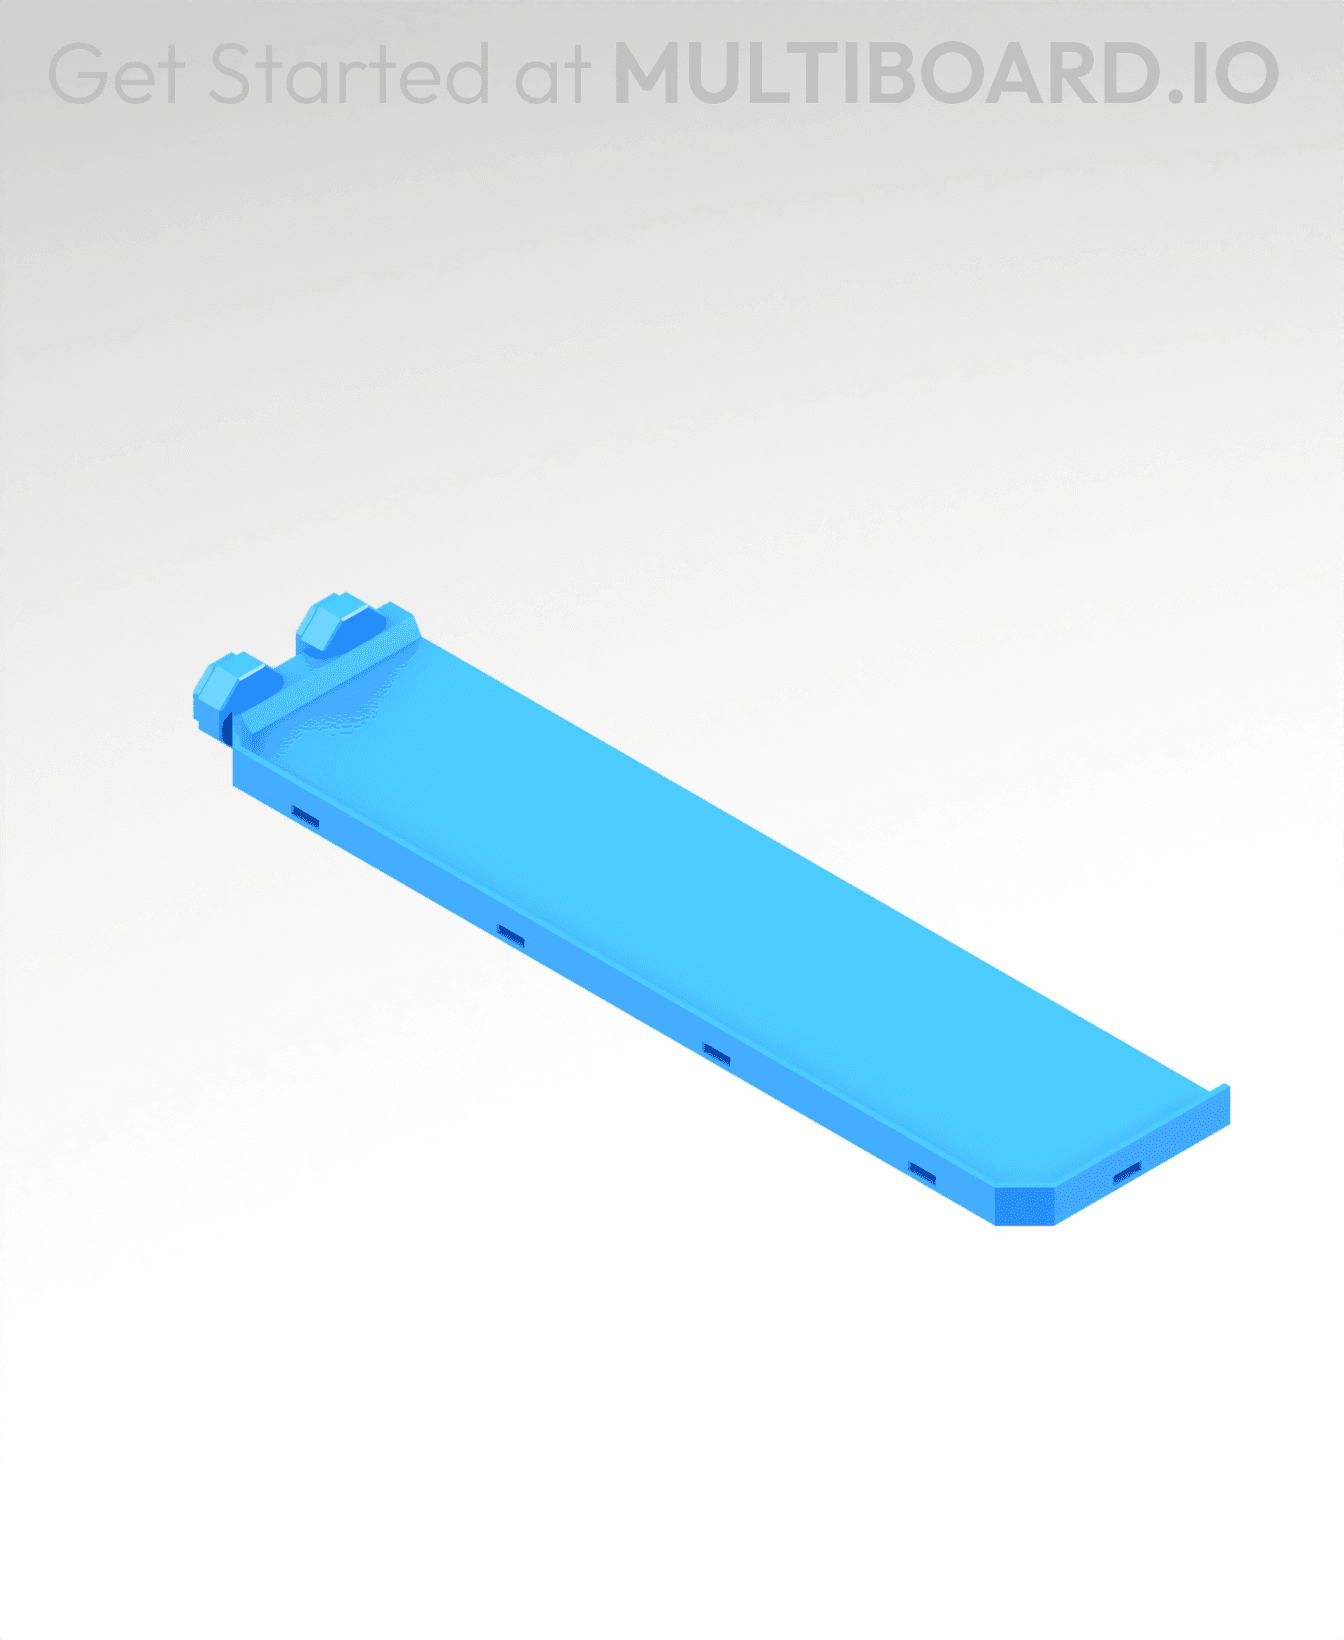
2x8 MU - Left Support End - Modular Bolt-Locked Shelf
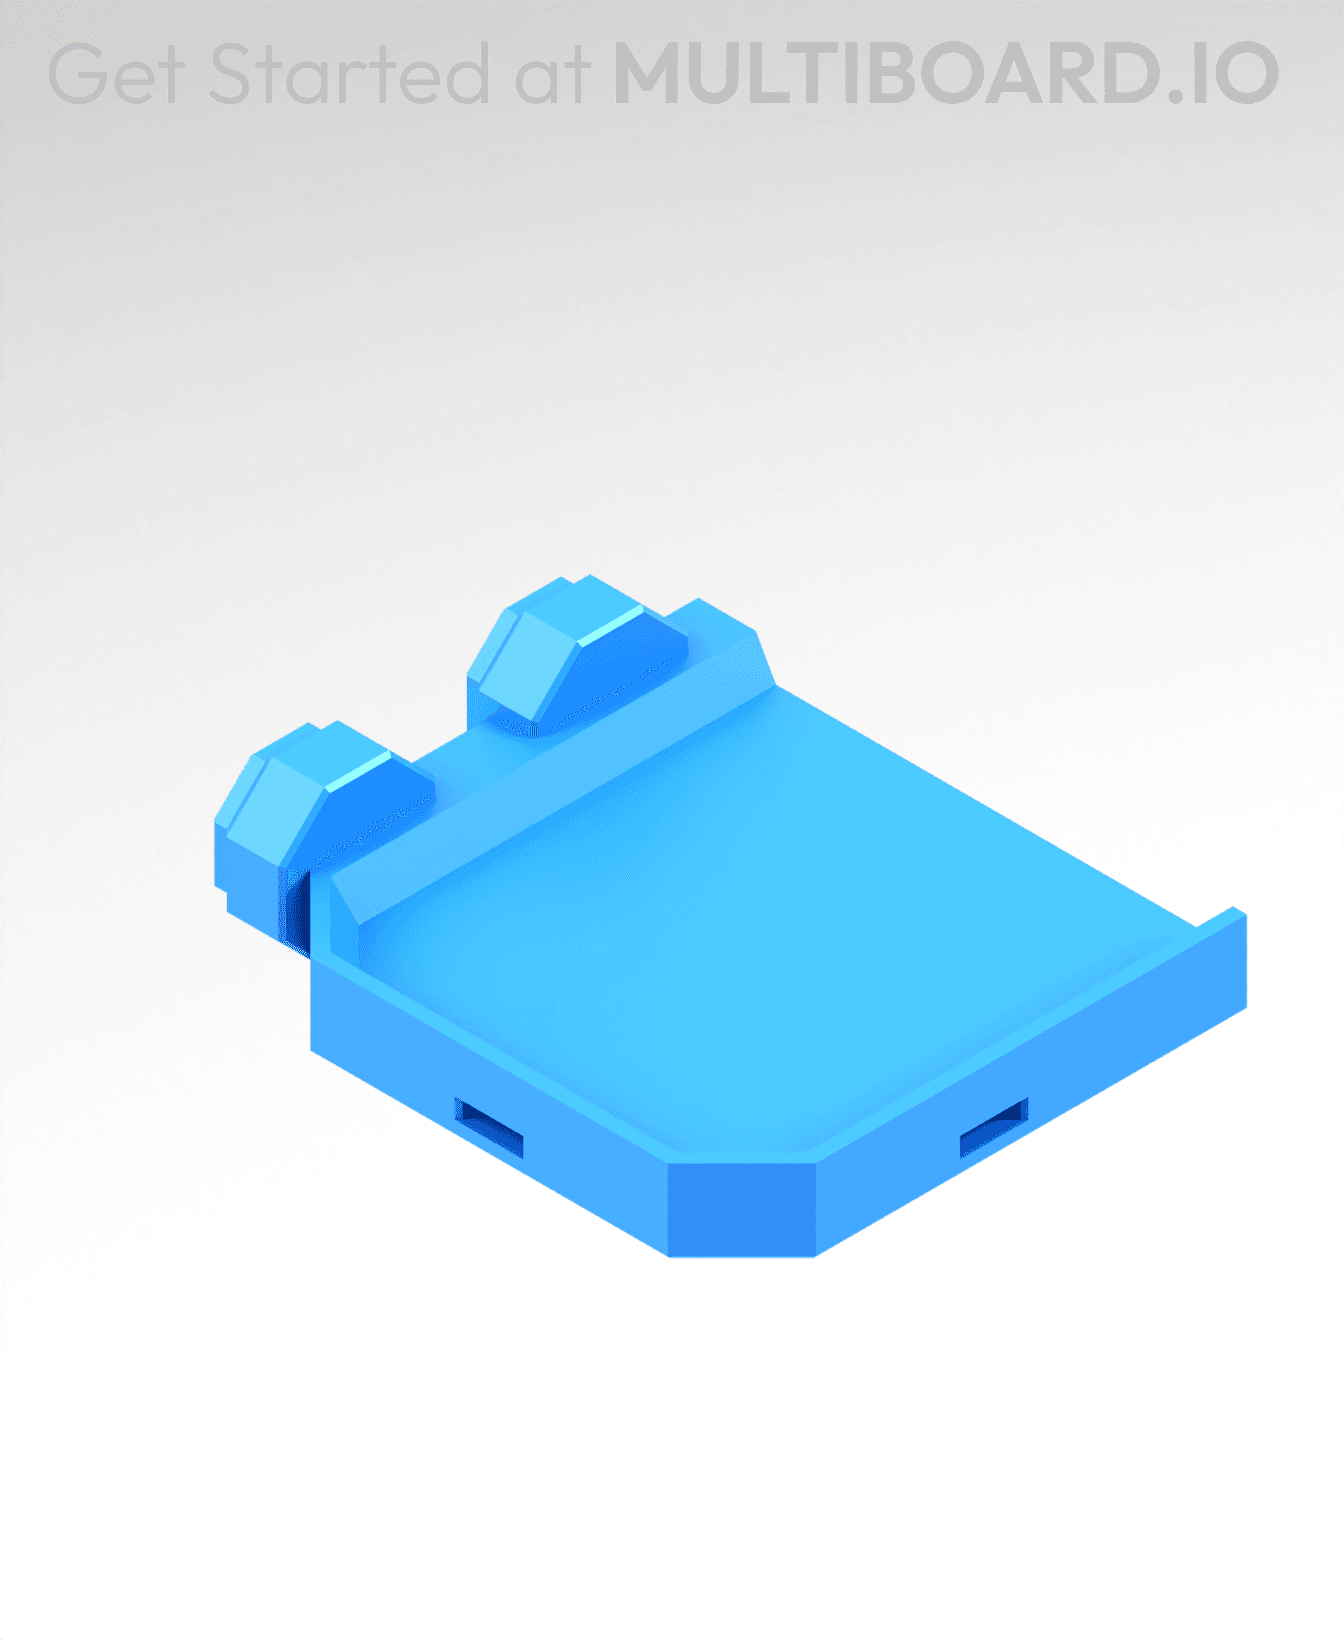
2x2 MU - Left Support End - Modular Bolt-Locked Shelf
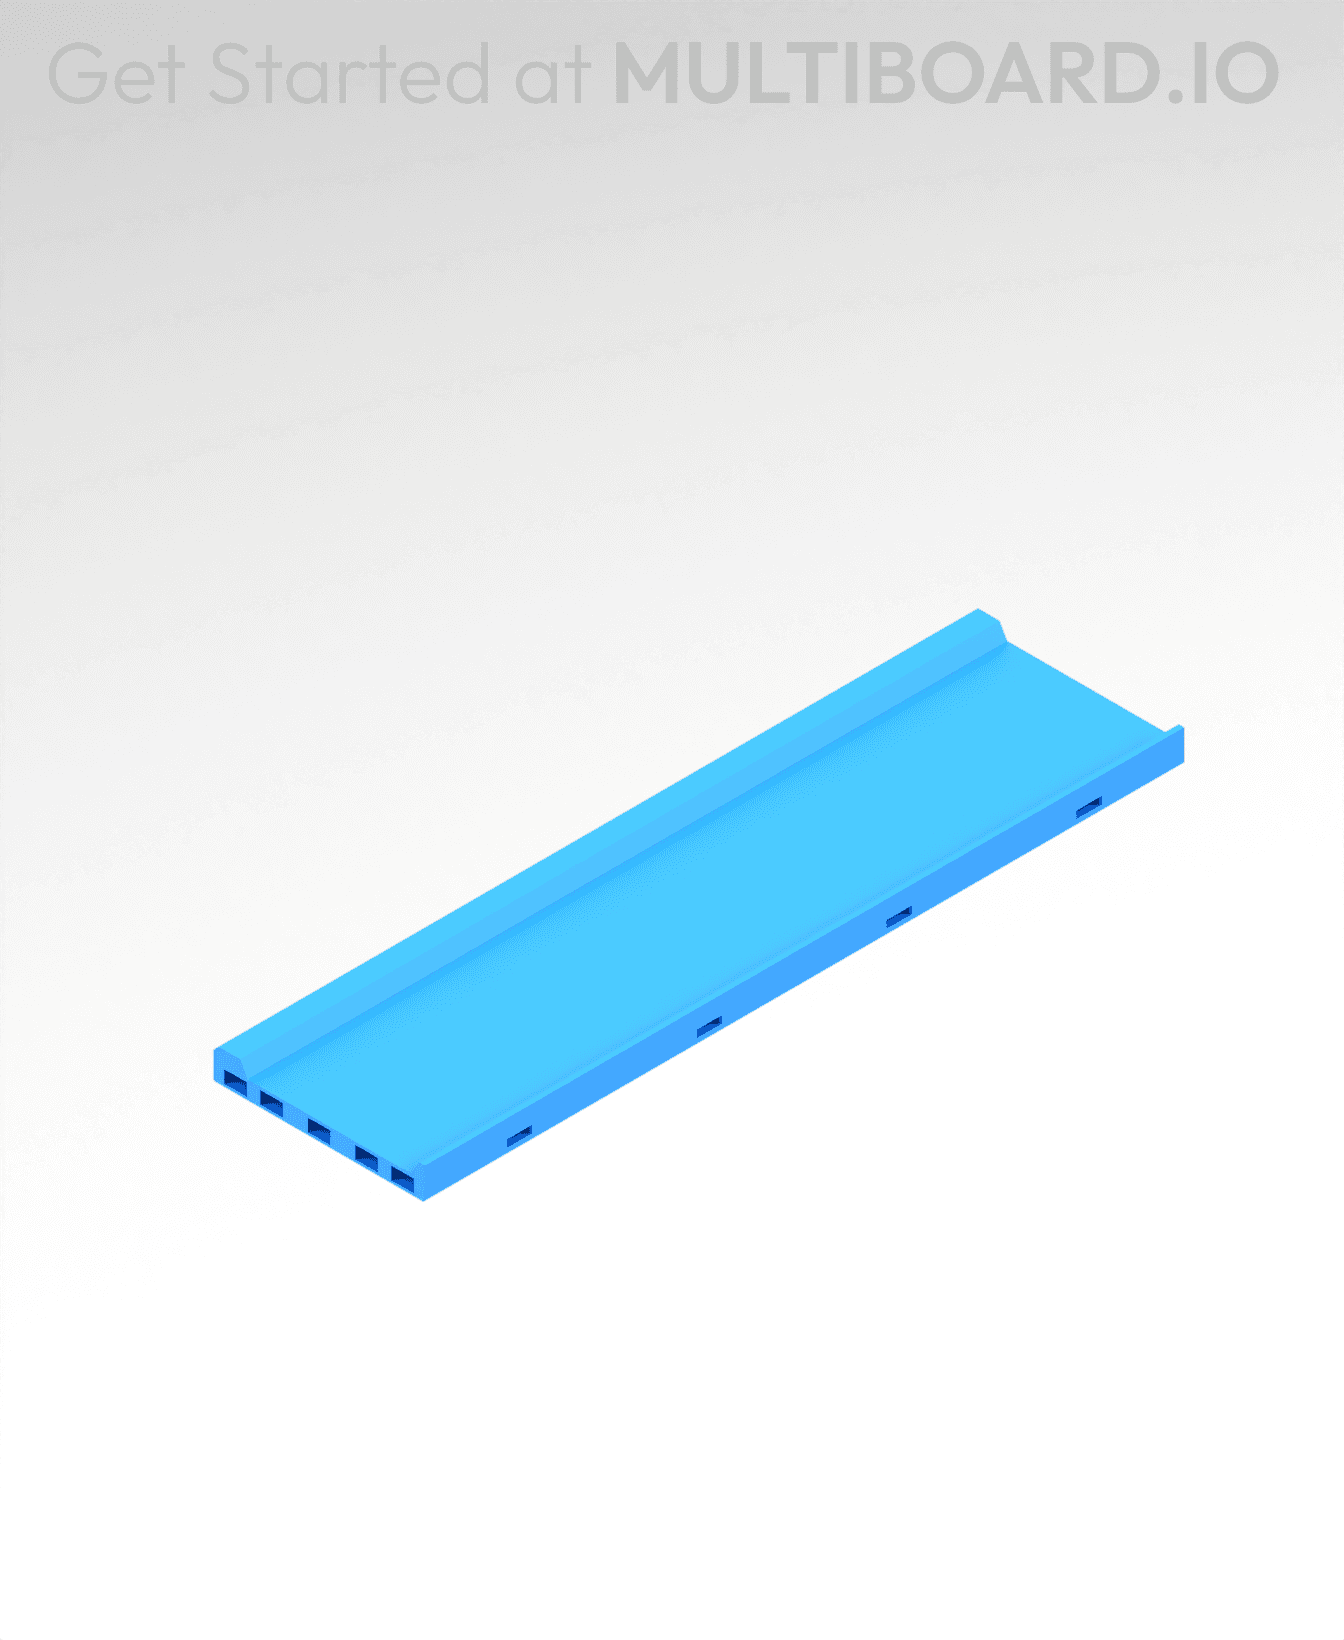
8x2 MU - Center - Modular Bolt-Locked Shelf
8x4 MU - Center - Modular Bolt-Locked Shelf
2x4 MU - Center - Modular Bolt-Locked Shelf

2x8 MU - Right Support End - Modular Bolt-Locked Shelf
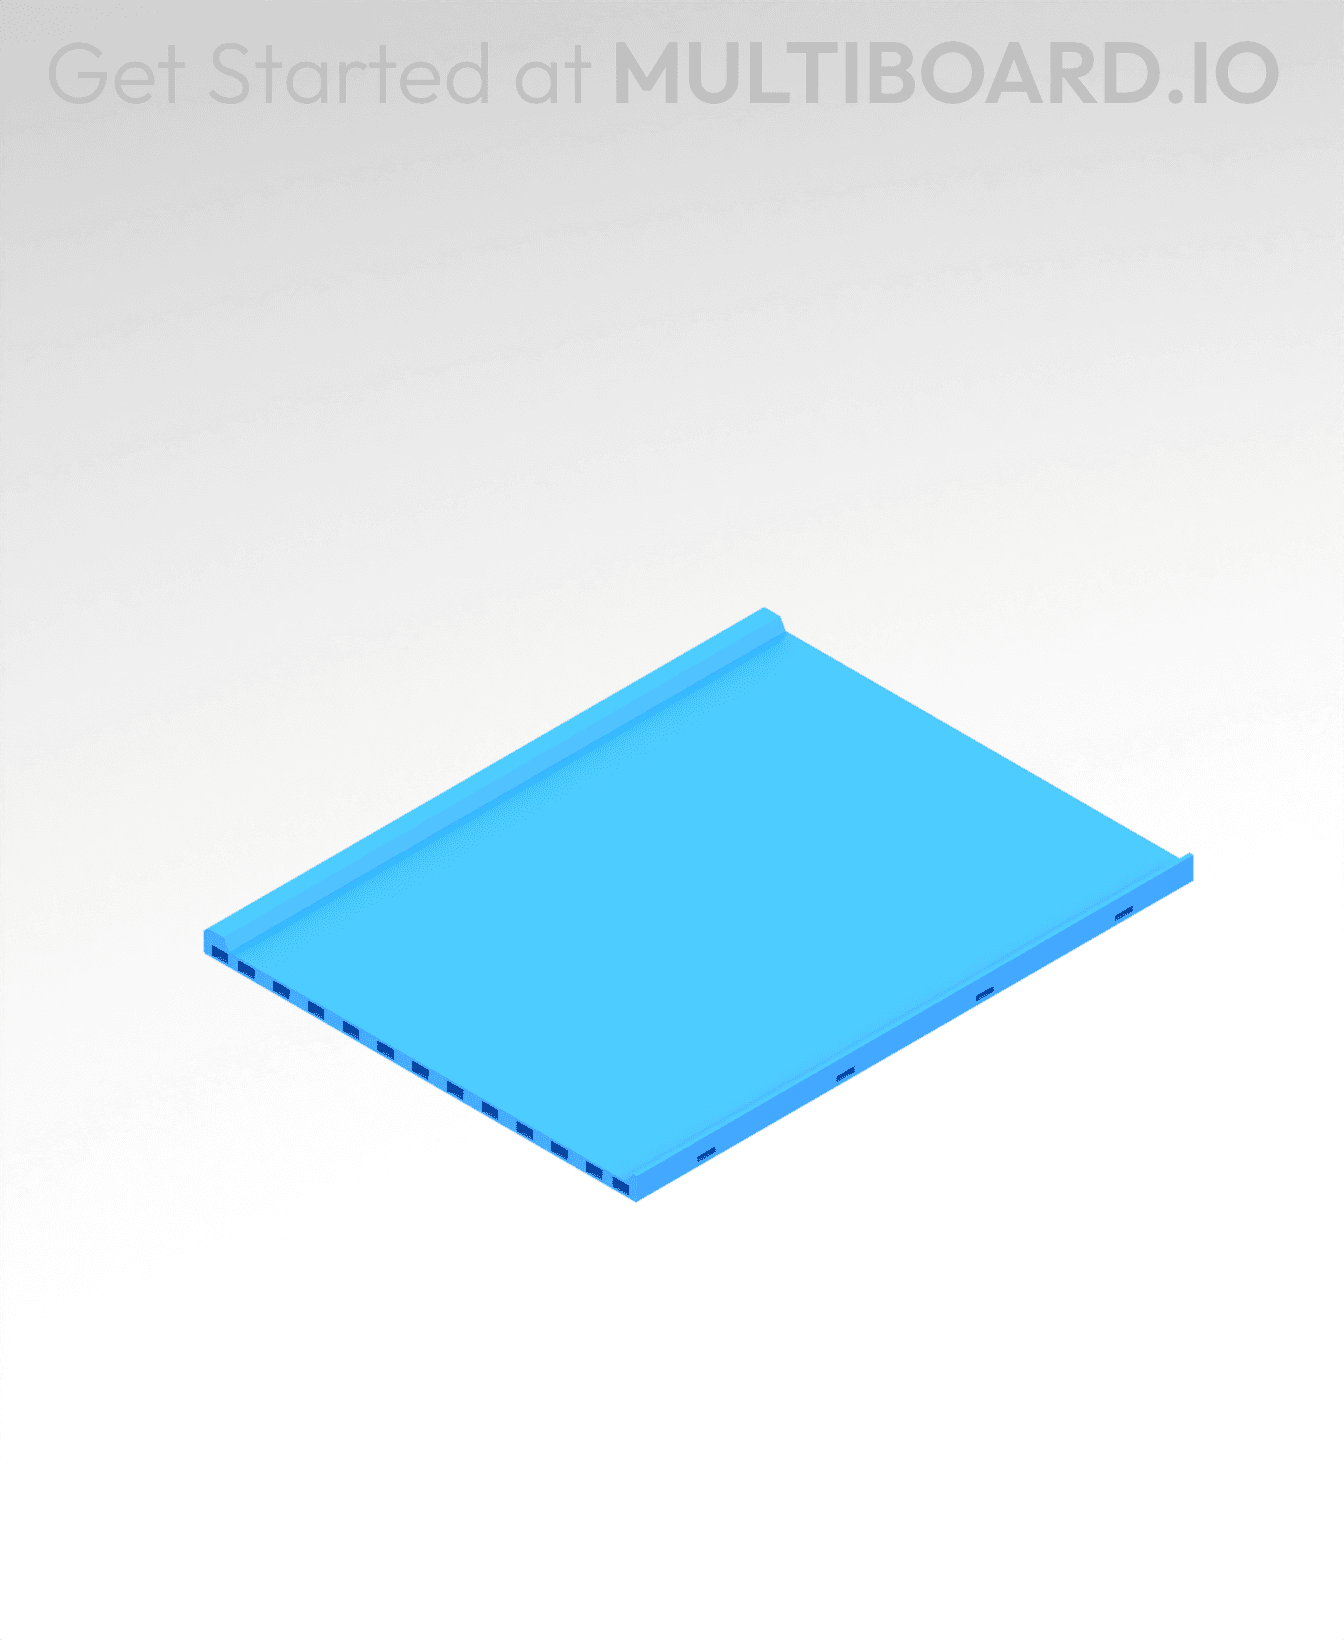
8x6 MU - Center - Modular Bolt-Locked Shelf
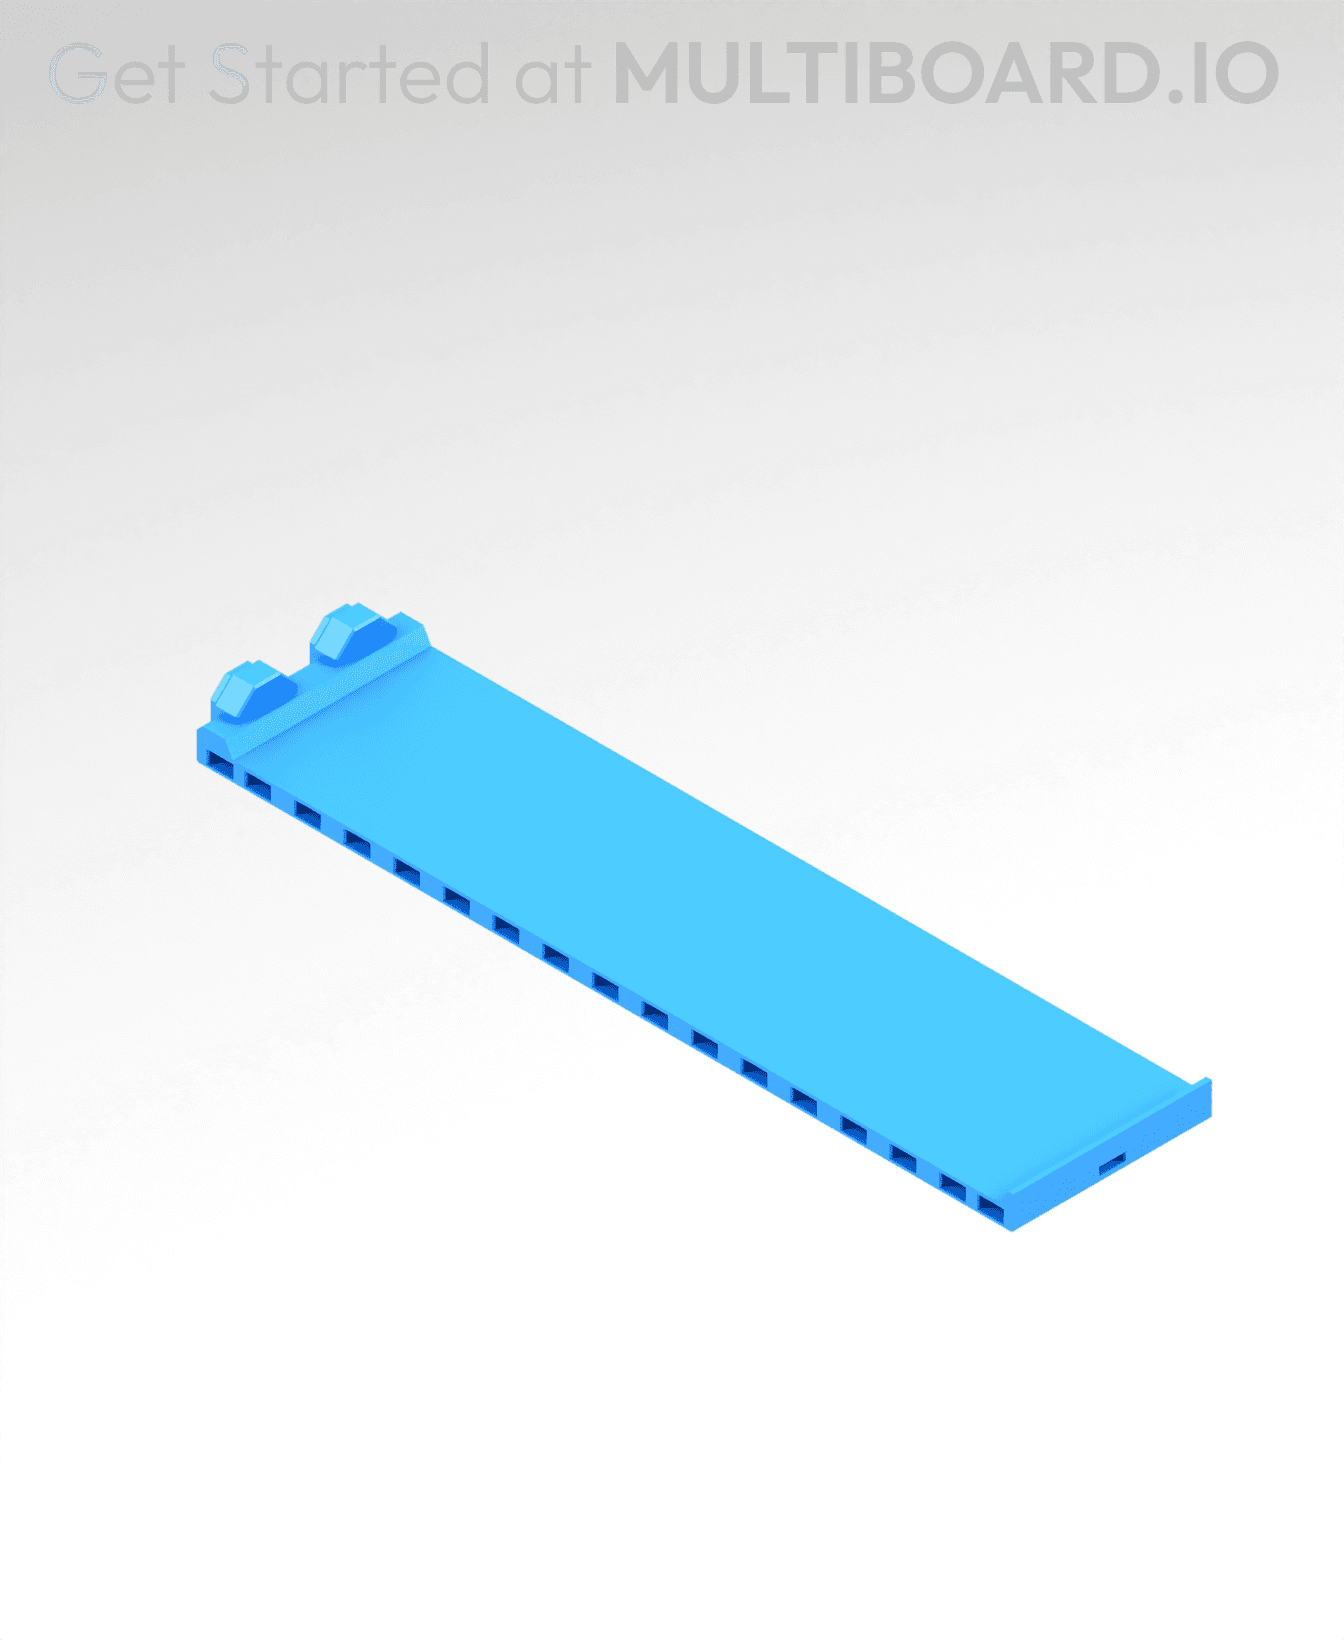
2x8 MU - Center Support - Modular Bolt-Locked Shelf
I would say listen to the maker and stick to printing individual boards if you can. It's less time at the end of the day (the ironing adds hours)... the quality is decreased, the risk of failure is higher, and the finished product is far less clean.
This worked... but with some warping and ugly surfaces. This is a highly visible system, I personally will not be using the stack again.
Maker and original designer suggested and designed the stacked ironing printing, he even made a video.....lmao
Why is there no guidance from the creator on how to set print parameters for these paid subscription prints?
how do you get them to print staked? My slicer stops and 65%
Having wasted 13 hours and about 300g of PLA printing this, I've concluded that the file is incorrect. This must be the multi-material stack and will not separate if you print it with a single material. Have seen several people both here and on Reddit reporting the same issue going back months and some up to a year. Seems this has been incorrect for quite a while. Resorting to single tile prints until it's fixed.
Its the correct file. Were your iron settings correct or even on?
is there an easy way to do more than 4 stacks? basically stack two 4 stacks on top of each other
I was hoping for this, too! The edges set prints 9 high, 8 high wouldn't be a huge ask especially as some of the other sizes have this option.
Came out great! long print even with increased speed but left it overnight. Printed on P1P with walls set to 3, ironing, and random seams. Can't wait to get the starter pack printed to see it in action. Then to planning the full build!
I downloaded the 8x8 Core ironing stack and the file downloaded said "multi-material". Thought it might've been a typo so I loaded it in to the slicer and the tiles aren't separated my a layer of material or slightly separated like the other ironing tile stacks I've downloaded. Anyone else have this issue?
Exactly the same issue, I just spent 13 hours printing this (after printing other stacks successfully) and these won't separate.
So I separated the object in orca and it is the multi-material stack. But if you don't separate object and then justify the division parts as a different filament, the whole stack prints as one. After separating, you can delete the multi-material layers and I assume just run it as an ironing stack, but I haven't tried printing it yet. Either way, the file isn't the ironing version.
Unless it's been changed , it's only four parts. I separated in Bambu Slicer to check. I printed it in Bambu Matte PLA on an X1C using the settings suggested in the description. It pulled apart perfectly. No cleanup required.
I had first tried an 8-stack multi-material version, using Bambu Matte PLA Black with Bambu Support Material for PLA for the spacers. I was able to separate the layers but the support material stuck to either side. It took lots of scraping to clean that up.
i used pla and abs and both materials done with stringings Oo i used Bambulab a1 as printer with auto calibration
I've found PLA to be too brittle for the manifold uses and this stresses place on this excellent storage solution. Reprinting with PETG as I want this to last a long, long time!